I mentioned in my previous post that there are as many recipes for bread as there are bakers. Today, I want to share my method for making sourdough bread. But, I want to encourage you to look around at other recipes as well (I’ve included some resources at the bottom of this post) and find one that works for you. Sourdough bread is time-intensive and it took me a few months to figure out how to integrate the process into our day. My method works for us because of the timing and the consistency of the bread. But remember, every baker is different!
Getting the sourdough ready
I currently have a rye sourdough. It’s been living in my fridge for the past two years. Rye flour has the advantage that the sugars in the flour break down slower than in a white flour which means the dough requires less feeding and is generally more stable. Wheat flour reacts quicker with the yeast bacteria which is why I use wheat flour for baking. In combination with rye flour, it makes a dense bread with a nutty taste.
The first step for my bread is to get the sourdough starter from the fridge. I try to do that at least one hour before I want to start the bread, preferably the night before. Giving the starter time to warm up means it will knead better and it will rise faster. I can see when the starter is ready to go because little bubbles will form.
Kneading the dough
I have recently moved to a stand mixer with a dough hook to do the kneading for me. This is absolutely not required. Kneading by hand is real fun, too. I have simply found that with two small children in the house (who always sense when I have dirty hands) it’s easier to use a mixer.

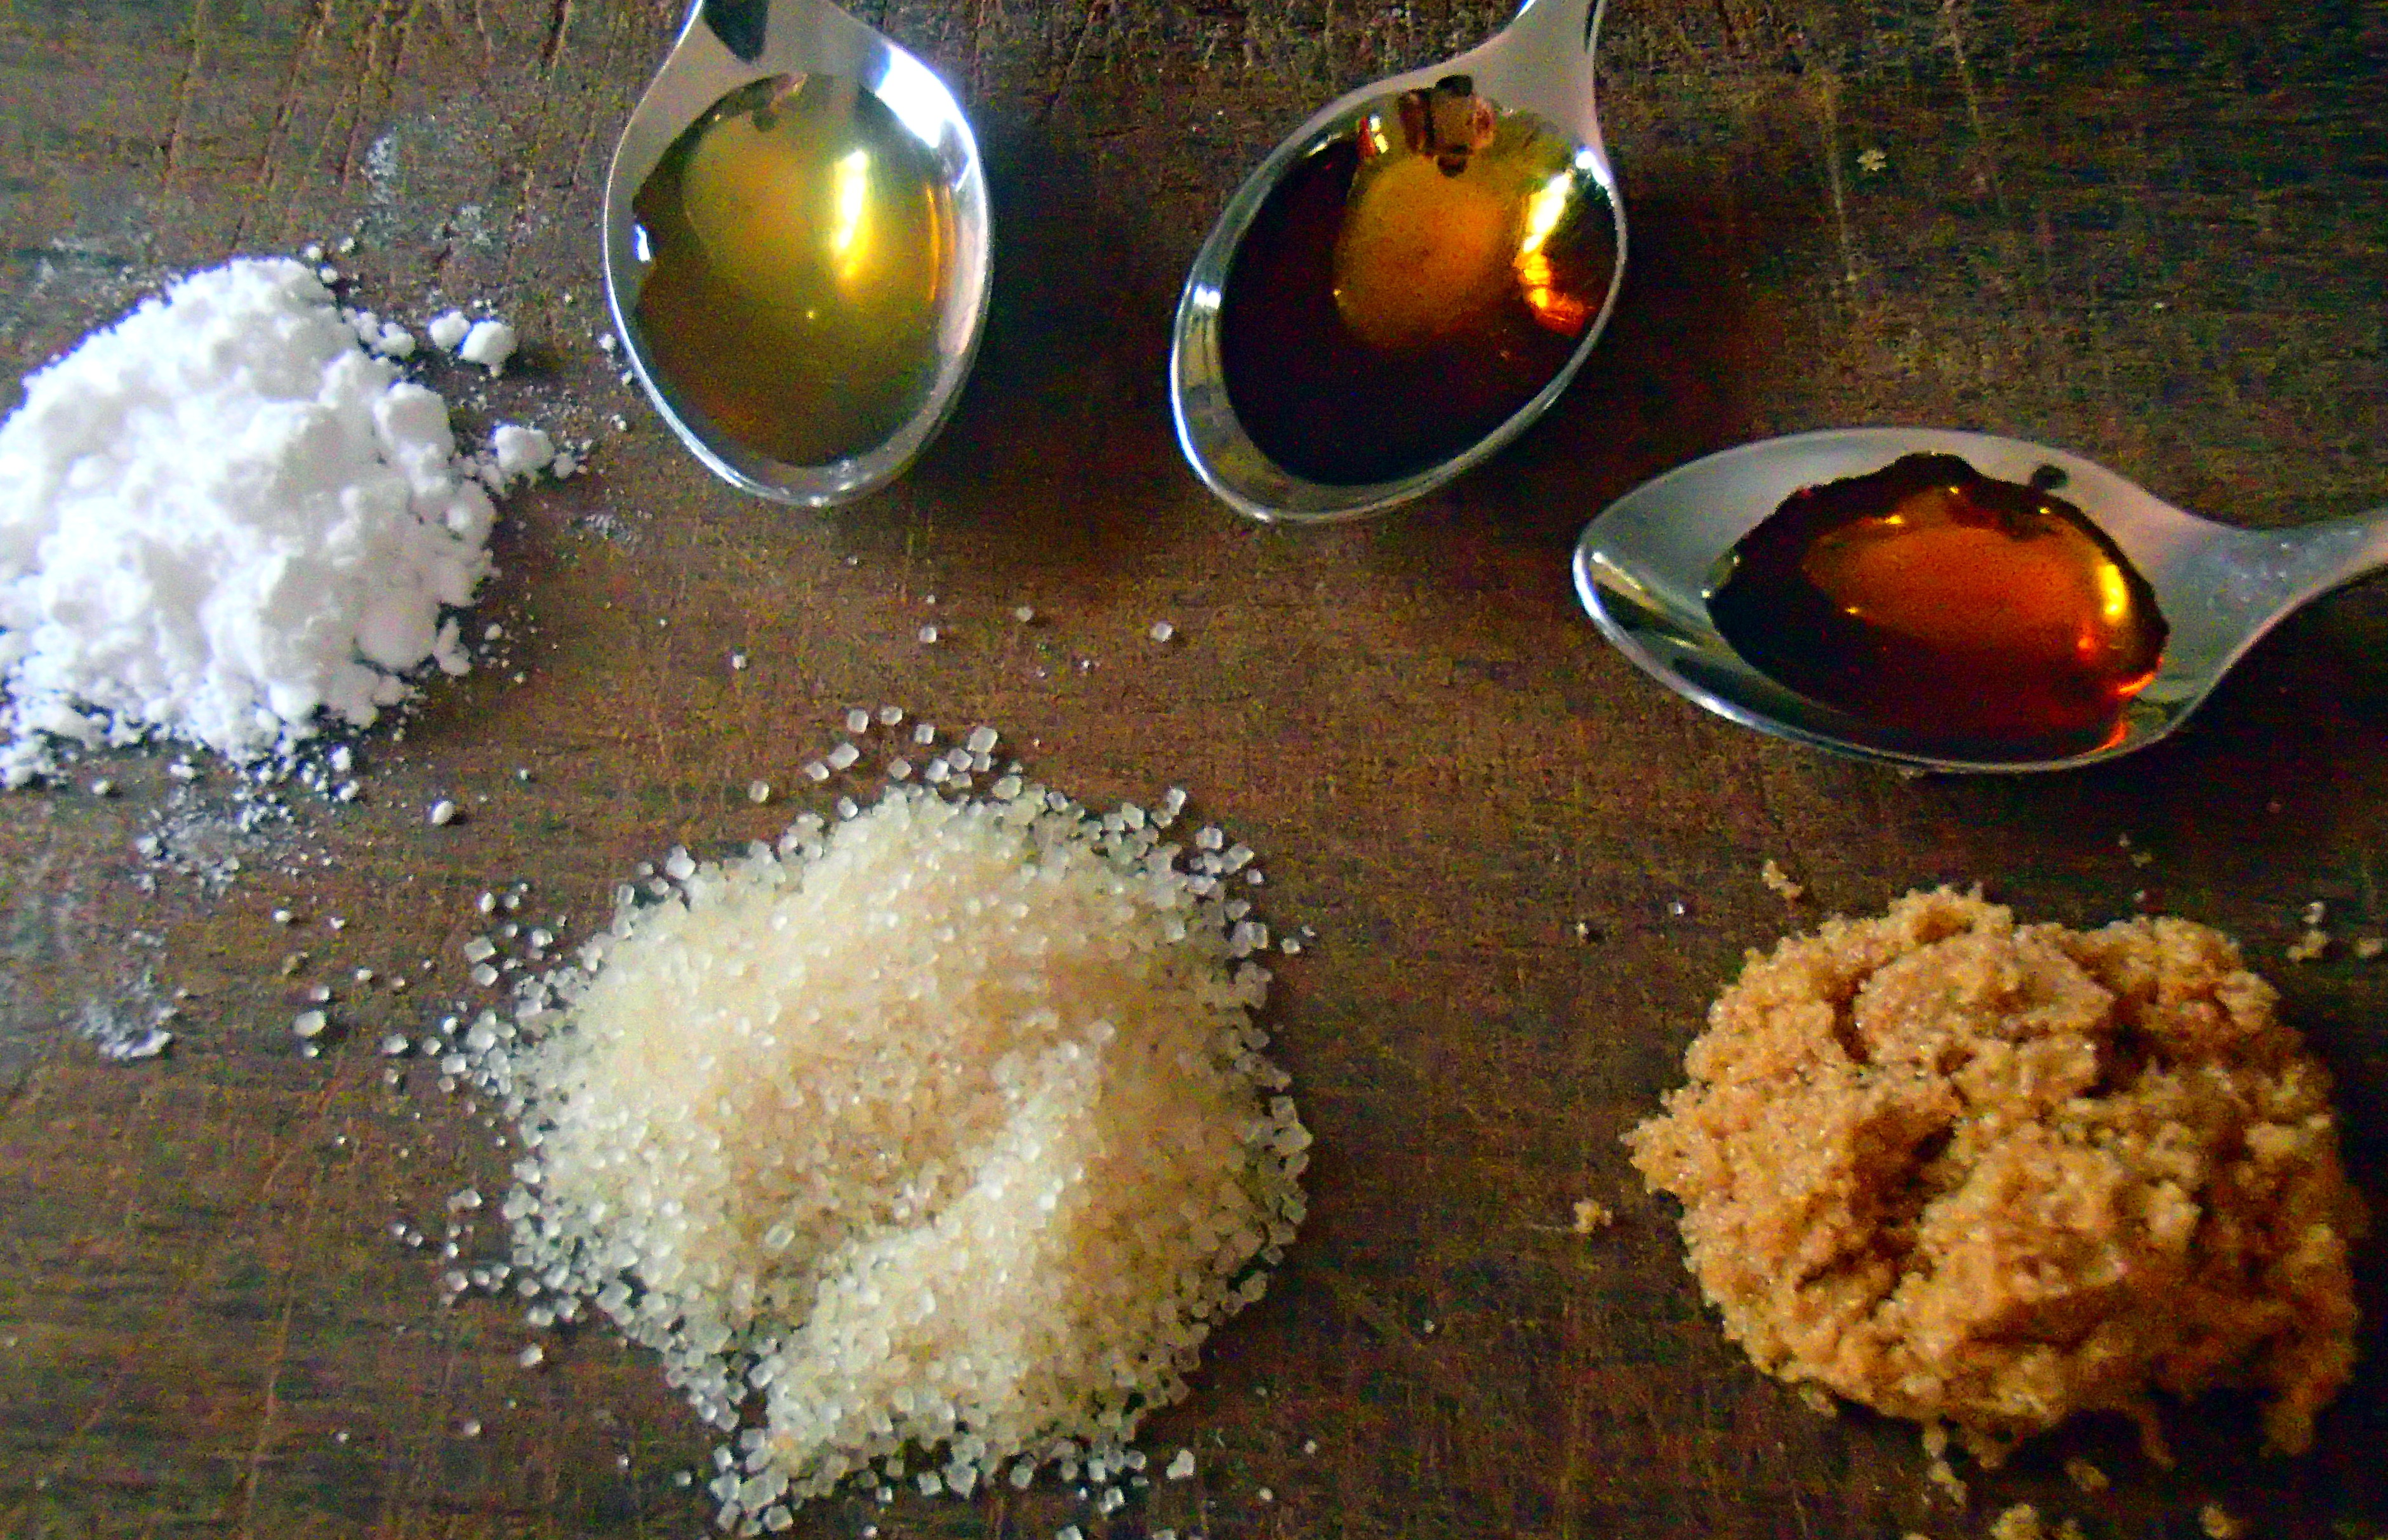
The first step is to pour almost all of my starter into the bowl along with salt, some seeds, and white flour. I never measure my ingredients but go by feel. As a rule of thumb, I want a generous pile of white flour on my starter. Once all my dry ingredients are in the bowl I start the mixer on low.
I also set my kitchen timer for 10 min.
When the white flour is almost gone I turn the mixer up one notch and I slowly add water to the mixture. I use cold tap water. Other bakers use filtered water. It doesn’t really matter as long as the water has drinking quality and no gas.
The amount of water depends on the white flour-to-sourdough ratio. It’s important to pour slowly and let the mixer work. It also pays to wait a few minutes before adding more water (drop by drop). Should the dough be too wet, add more flour (one spoon at a time).
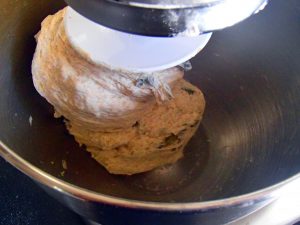 The consistency I’m looking for is one where the dough comes off the sides of my bowl. Sometimes my dough still sticks to the bottom of the bowl and that’s okay, too. However, I personally try to avoid a dough that doesn’t come out of the bowl because those doughs are much more difficult to work with (not impossible though).
After about 10 min of kneading I let the dough rest in the bowl for around 30 min.
Feeding the sourdough
While the mixer is running I feed my sourdough. I add rye flour into my container (which has about two tablespoons of starter left) and some water. Again, I don’t measure this but go by feel. The consistency I’m looking for is a mousse – not too runny, not too dry.
Once I’ve incorporated all my flour and water I return the sourdough to the fridge, ready for the next baking.
Forming the dough
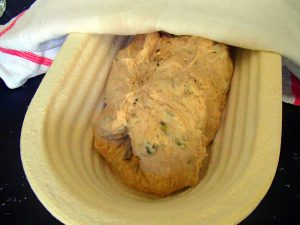 I bought proofing baskets a few months ago so my dough can rest easily. This, again, is not required and I know plenty of bakers who don’t use a proofing basket. The dough simply needs to be firmer in order not to run during the rising period.
After about 30 min of resting in the bowl, I form my dough into a crepe shape (check here for a demonstration) and I let it rise in my basket.
Up to this point you might have spend about 15 min working with your dough. The rising (or proofing) which follows now takes the longest: for me around eight hours. I let my dough sit in a quiet, warm, draft-free spot, covered with a towel. I don’t need to do anything during this time. The bacteria will work their magic.
My proofing time of eight hours is again something that works for us. I can start the bread at breakfast and have it baking for dinner. It also doesn’t make the bread too sour. The general rule is that the longer a dough rises the more air bubbles will form and the more sour it will taste. The rising time will also depend on your ambient temperature and the humidity in the air.
Baking the bread
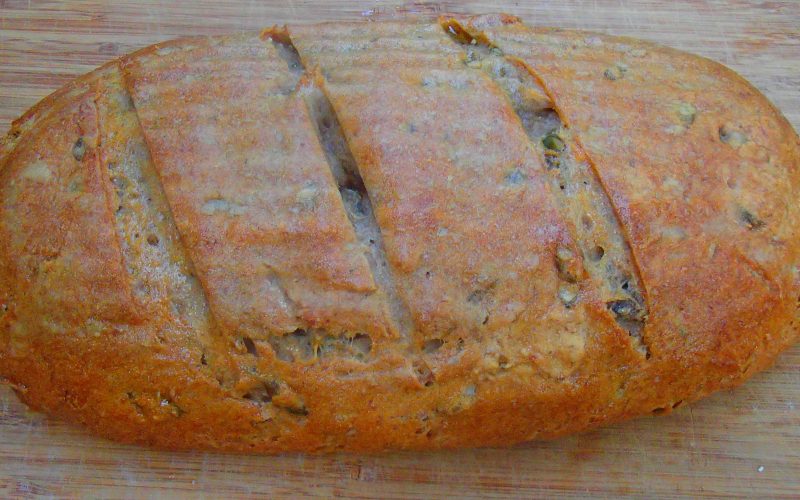
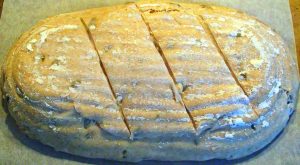 When it comes time for baking my bread I gently remove it from the basket (i.e. turn the basket upside down), cut it at the top and bake it. I make sure the oven is preheated to 200°C and I have a shallow bowl with water in the oven.
The baking time varies but is usually around 40 min at 200°C.
The bread is done when it is brown on the top and hollow sounding at the bottom. A simple test is to remove the bread from the oven, turn it upside down and lightly tap the bottom. If it sounds hollow, it’s done.
I try to let my bread cool slightly before I cut into it.
Other bakers, other methods
This is my method and it works for me. Check out some other bakers and their methods.
Happy Pears on Youtube – using sourdough starter
Blog post on Fig Jam and Lime Cordial – using sourdough starter
Blog post on The Home Grown Country Life – using a sourdough starter
Jamie Oliver on Youtube – using yeast