We’ve been baking our own bread for the past seven years, using various recipes and with varying success. Since moving to Australia I have been baking bread regularly, about twice a week. It’s cheaper and tastes much better.
I want to use this post to talk about some fundamentals in break making. Essentially, I want to demystify bread baking and encourage you to give it a try. In my experience bread is very forgiving and there are very few things to get wrong. Keep in mind that there are as many recipes and how-to’s for an everyday bread as there are bakers. Everyone seems to have a little trick that works for them and their setting.
Let’s start!
Equipment
To make bread you will need … a bowl, a spoon, and your hands!
Done!
Bread making is a straight forward process when it comes to equipment. You don’t need any special gadgets to make good bread. The trick is in the kneading and the time to let it rest.
However, there are tools to make bread making easier (other than a bread maker). We have a stand mixer with a dough hook which helps a lot to knead the dough. Other bakers use a food processor. A wide bowl also comes in handy to avoid a mess when you’re kneading by hand. Most seasoned bakers will knead on a flat surface, however.
The kneading technique consists mainly of pulling and pushing. This video explains it a bit. The kneading requires practice. Most likely there will be some form of cramping involved in the beginning. It’s not a usual movement for our hands and arms in the beginning so that’s unavoidable. However, it’s very sensual and great fun when you get the hang of it (which doesn’t take long).
Ingredients
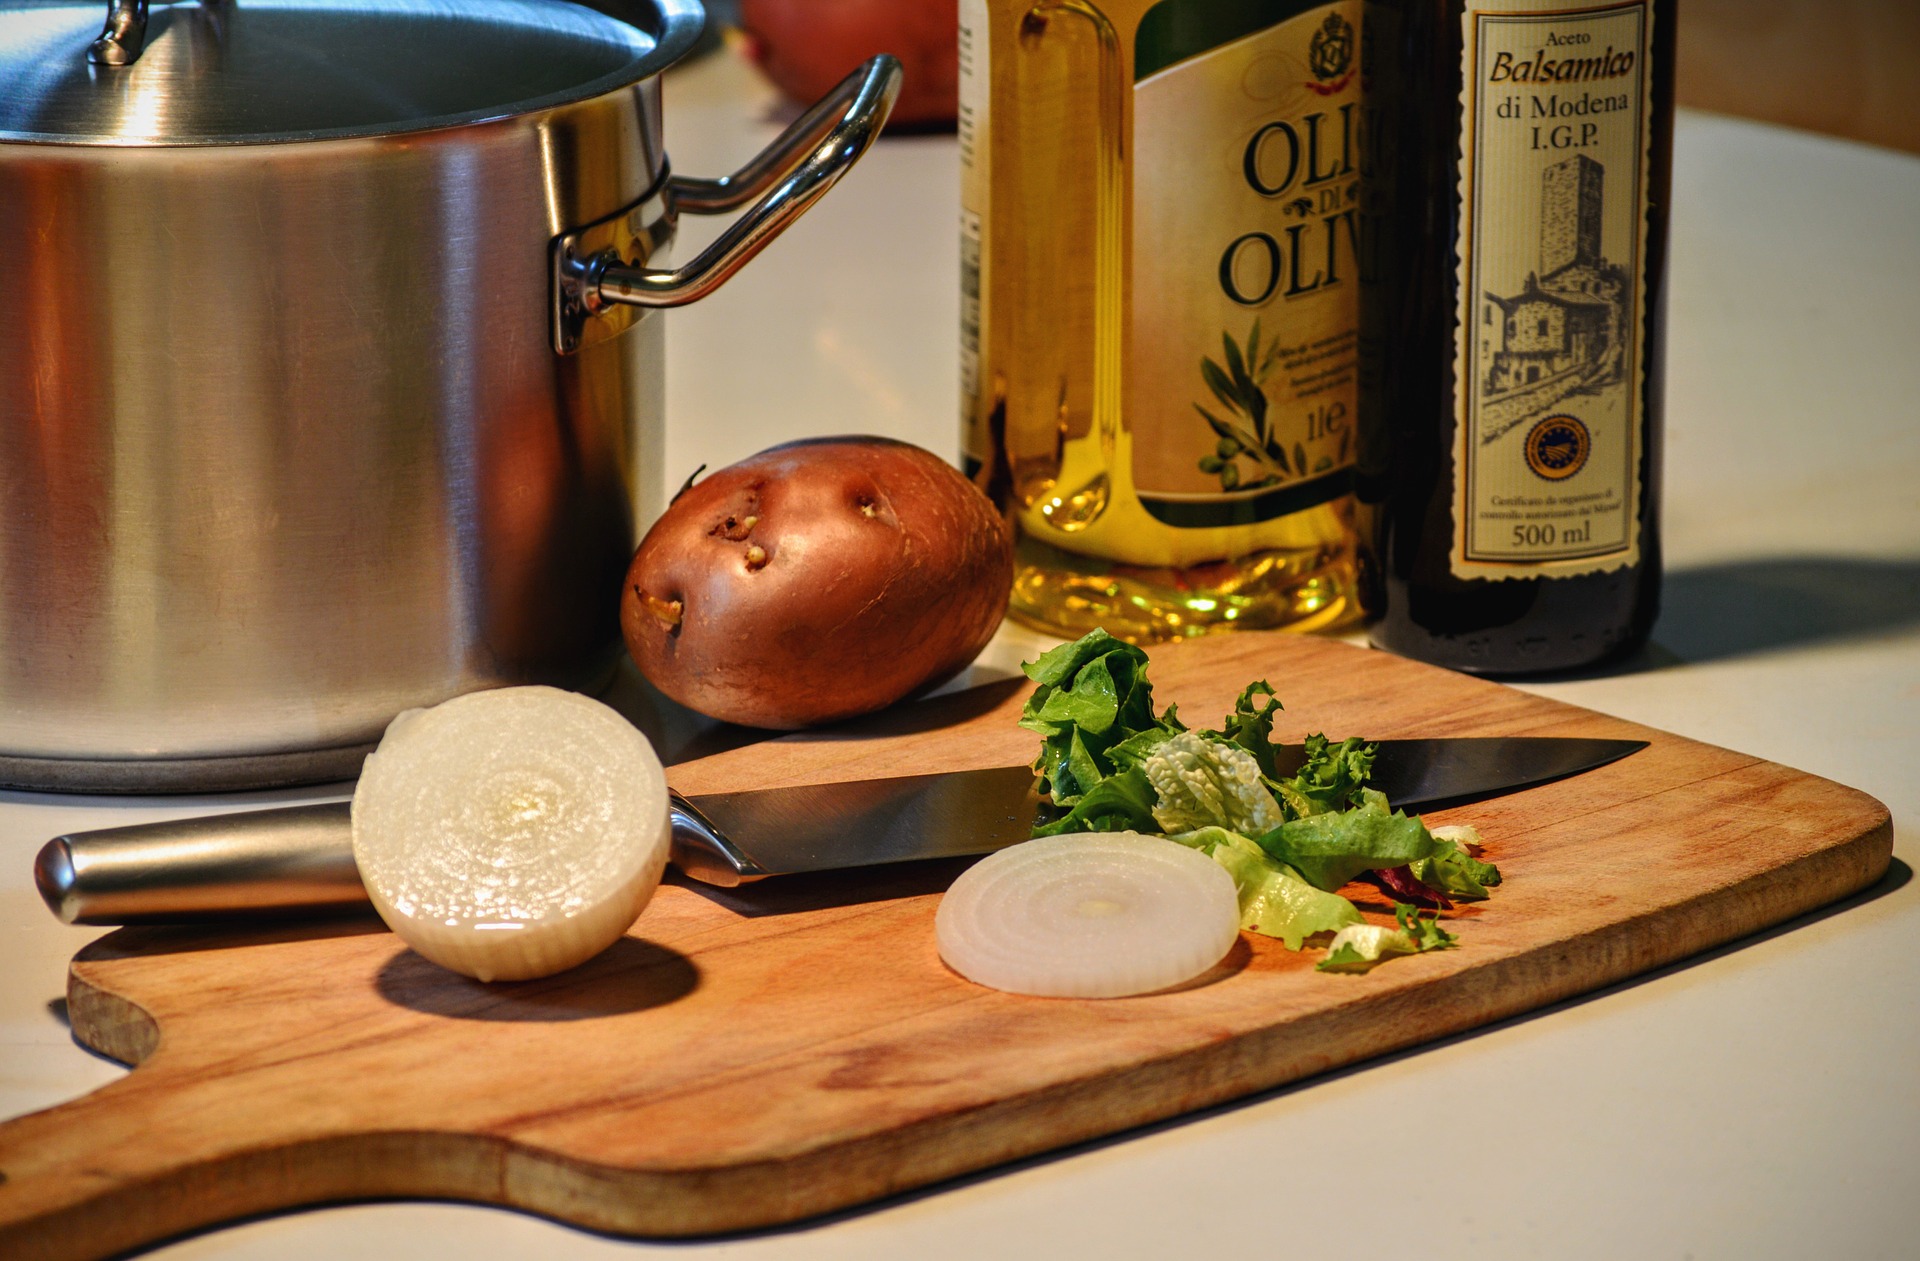
In essence, a bread contains flour, water, and salt.
I’ll get to rising agents in a second.
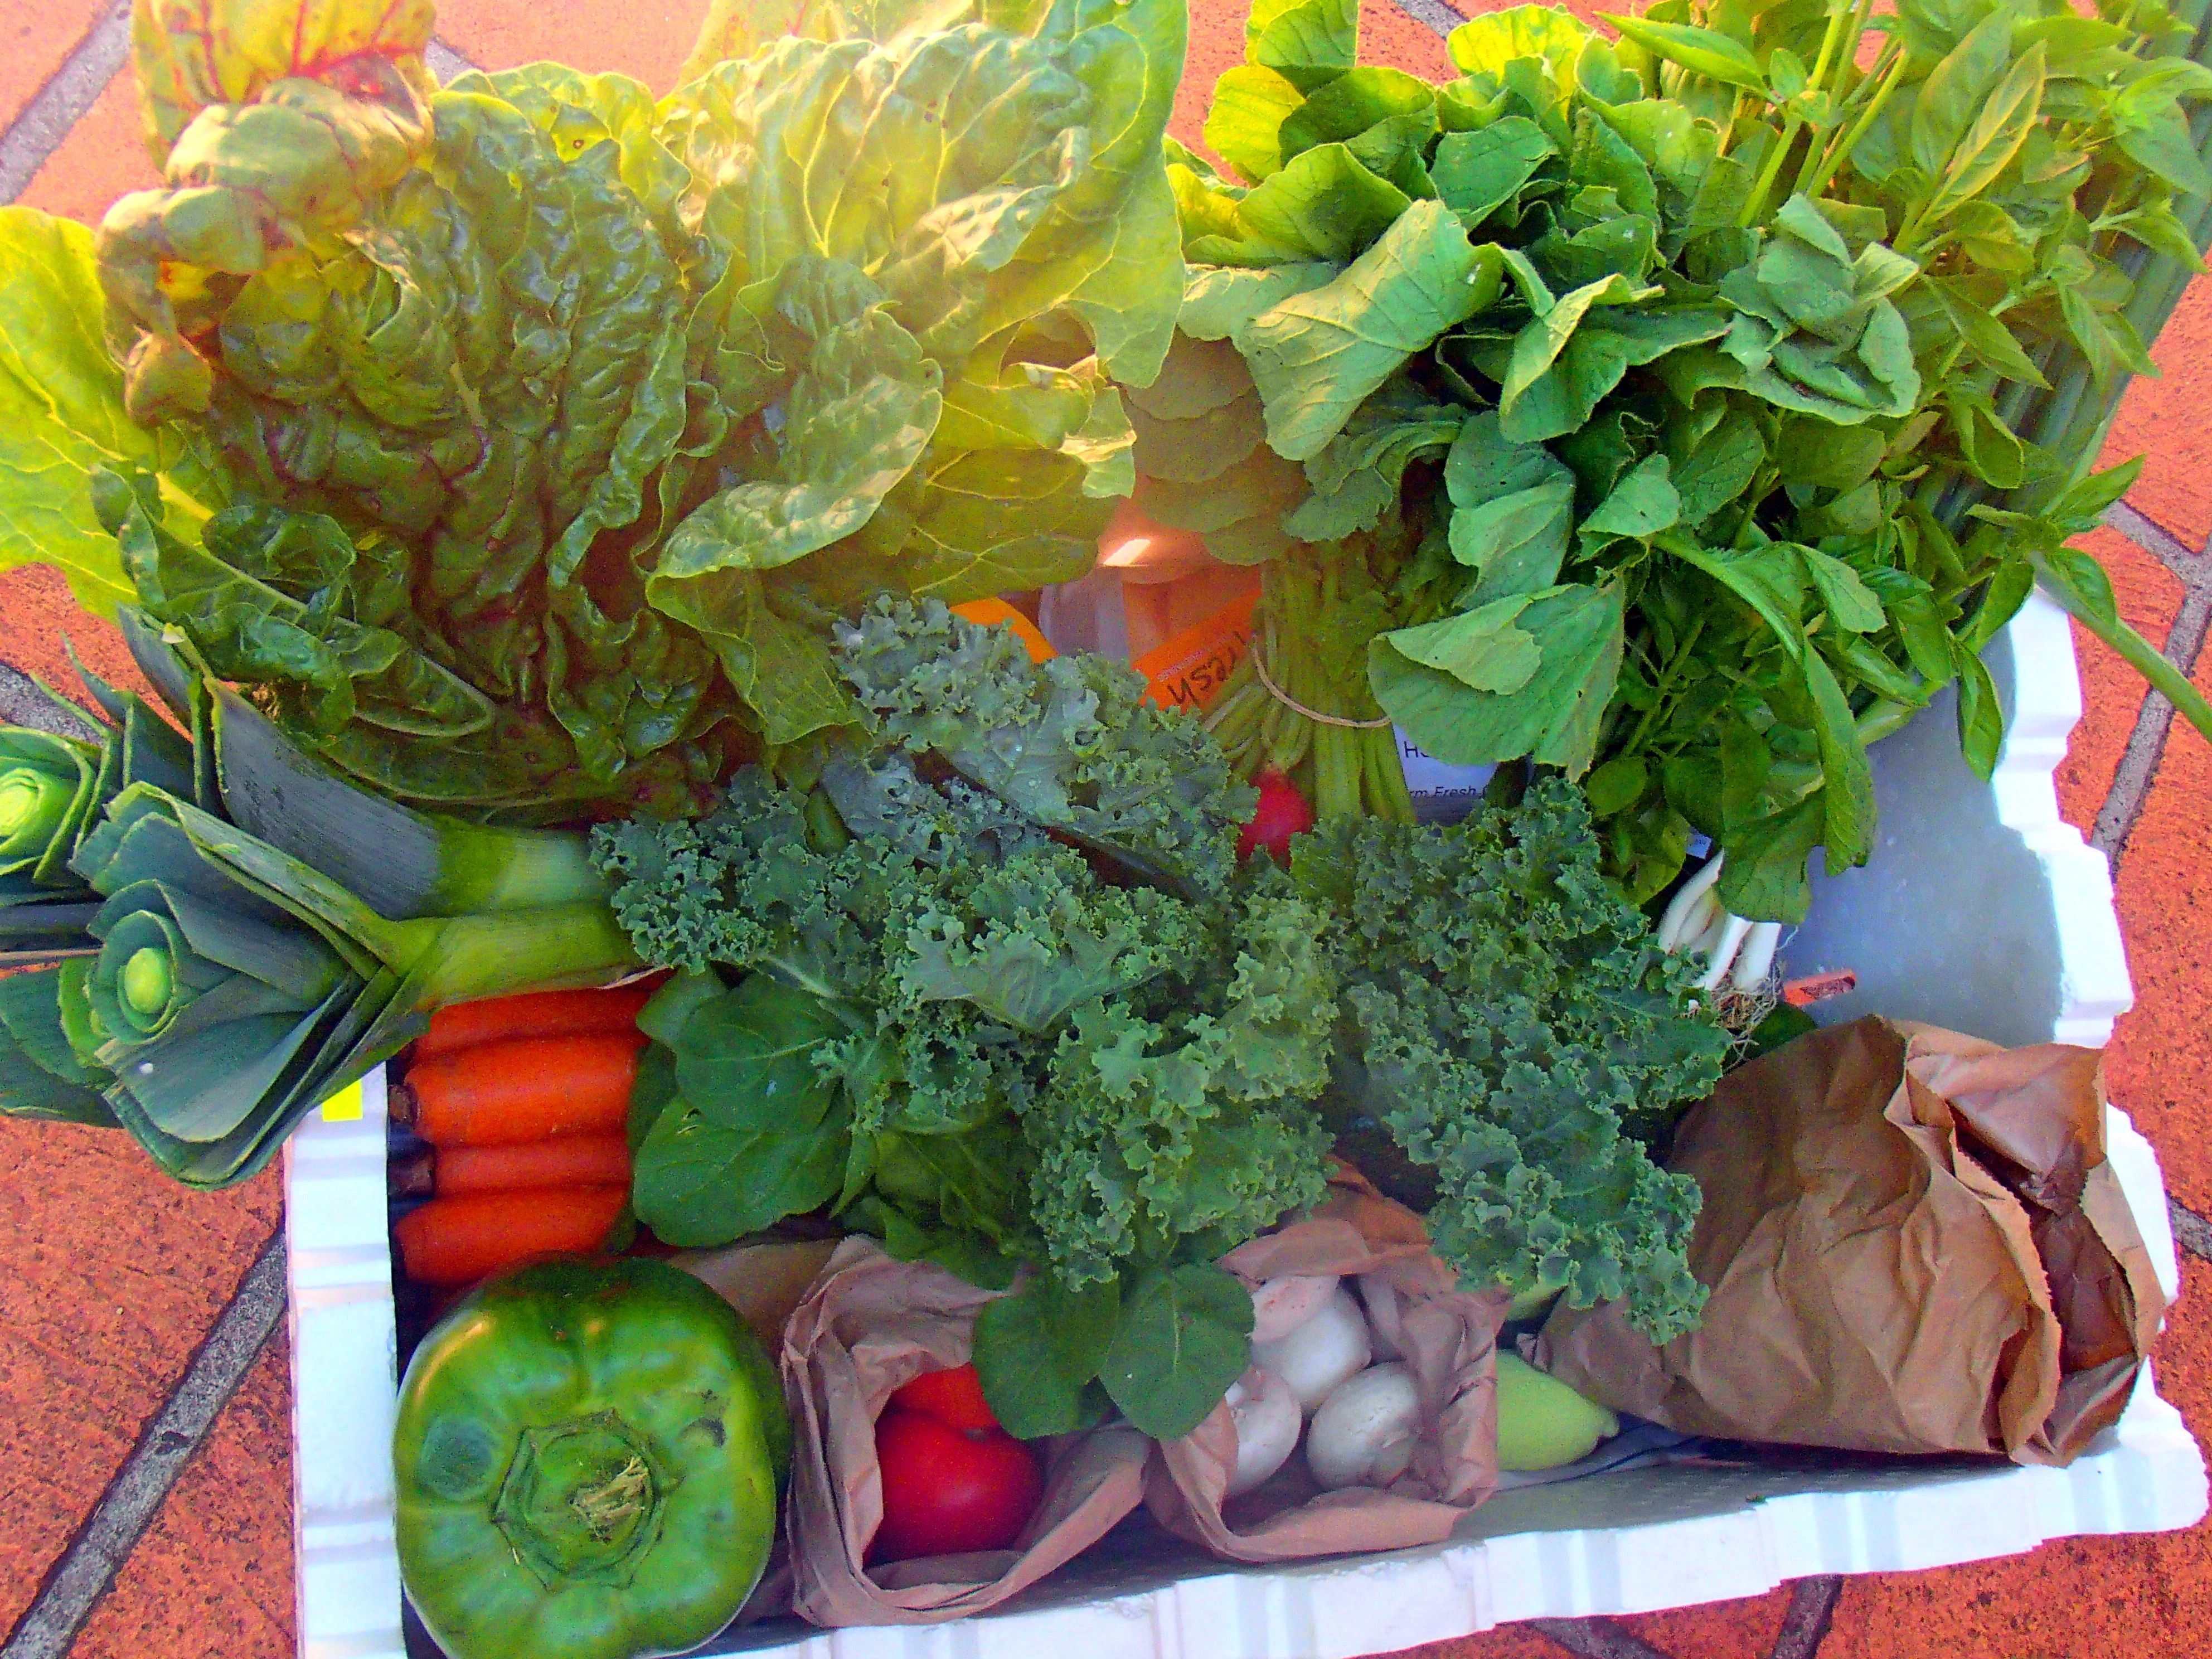
Optional ingredients are seeds, nuts, oats, or herbs. The choices are almost endless when it comes to optional ingredients. For our day-to-day bread, I like to use pumpkin and sunflower seeds. But it all depends on personal taste and preference.
Rising agents
The flour and water mixture requires a rising agent to form a bread. Depending on your available time there are chemical and biological rising agents. Chemical rising agents are baking powder and baking soda and are used for very fast breads (the whole baking process can be done in under one hour). I use biological rising agents and will talk about them in more detail.
Yeast
Although commercial baker’s yeast is often everything but natural, yeast is more than just a baking ingredient from the supermarket. Yeast is in the air and with time and patience, it can be caught to make a sourdough.
Store-bought yeast is either dry or fresh. Dry yeast comes in individual packages or in a large container. It’s best stored in the fridge and it can last about one year (always check the expiry date!). Fresh yeast has to be stored in the fridge and should be used as soon as possible.
Before yeast is added to flour it is best dissolved in warm (not hot!) water. This also serves as a test if the yeast is still alive. The rule is: no bubbles – no life – start again.
A dough to rise with store-bought yeast requires around two hours, depending on the air temperature.
Sourdough
In contrast to store-bought yeast, a sourdough is like a pet. It needs regular attention, feeding, and a place to live. My sourdough lives in the fridge. Other bakers have theirs on the kitchen bench. The resting place determines the feeding schedule. In higher temperatures, the dough will be more active and thus require more food. The fridge slows down its ‘metabolism’ and the dough will be less hungry.
Starting a sourdough can be done in two ways: someone splits some with you or you can make your own. I got mine from a friend and I also started a sourdough for my father-in-law.
Starting a sourdough can be either be done with yeast bought from the store or with yeast from the air. In both cases, you will need water and flour in a jar without a lid. Catching yeast from the air is done over two to three days. The jar with a smooth but thick water-flour-mixture needs to sit on a kitchen bench, covered against insects but with enough air moving around it. After about two days the mixture will begin to bubble. The bubbles indicate that there is yeast present in the mixture and the sourdough is ready. From here on the dough needs regular feedings with flour and water.
If the sourdough is started with yeast from a packet the catching of yeast can be skipped. Simply mix flour, water, and yeast into a smooth paste. The dough should stay on the kitchen bench for about 12 hours before it is ready to use.
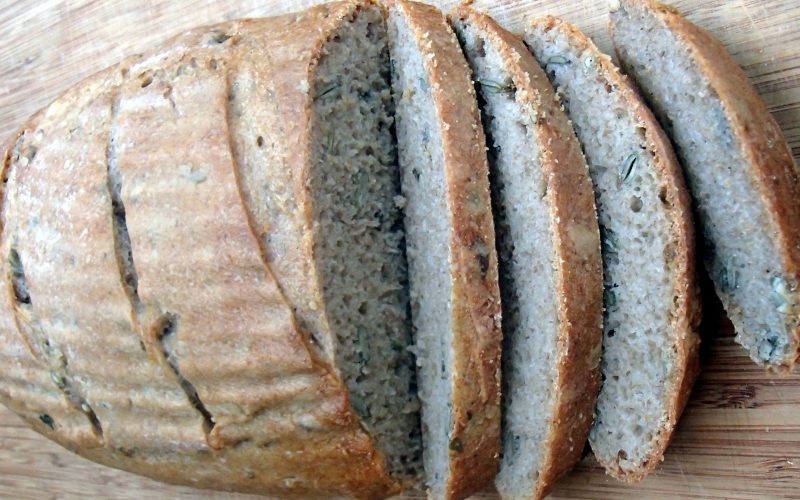
A sourdough bread requires anything from four to ten hours of resting. The exact time depends on the air temperature and personal taste. Longer rising times result in more sour bread.
Don’t despair!
These fundamentals of bread baking might sound intimidating at first but they are simple and forgiving. If the kneading is not right the first time, that doesn’t mean the bread will be uneatable. It’ll be tougher and flatter than desired but totally fine to eat. Same goes for the rising agent. Even a dead yeast makes a bread.
Next time I will talk more about ingredients and baking techniques.