Eco food wraps are a reusable, eco-friendly, and plastic-free alternative to glad wrap (a.k.a. cling wrap). They can be used for almost anything in your kitchen you would use plastic wrap for fruit and veggies, leftovers, bread, sandwiches, even cooked meat – you name it. And it’s just plain fun to wrap food in them.
The best news: they are really easy to make yourself!
I had an introduction to making eco food wraps through a community workshop a while ago. I ended up loving them so much that I filmed the method for Skillshare and made some for my friends, family, and our local coop.
But let me run you through the process of making them yourself.
Supplies
To make eco food wraps at home you will need beeswax (more on this below), cotton fabrics, pinking shears, a brush (a paintbrush or similar which can be soiled), baking paper and a baking tray, and an oven heated to around 70°C (or anything below 100°C).
The trickiest part is to get the beeswax. In the original workshop, we used blocks of beeswax which we grated. Not only was that hard work but cleaning the grater afterwards was no fun. If you are able to find beeswax pellets, I highly recommend them. It makes it much easier. However, pellets are more expensive. Blocks of beeswax should be available at hardware stores or your local beekeeper. I have found beeswax pellets from my cosmetics supplier.
In addition to beeswax, you can also add pine resin and jojoba oil to your food wrap. Pine resin adds a stickiness, similar to cling film. Jojoba oil, being actually a wax, also adds stickiness to your wrap. Both ingredients are optional and should be used absolutely sparsely. I used about two pinches of powdered resin and one teaspoon of jojoba oil per food wrap.
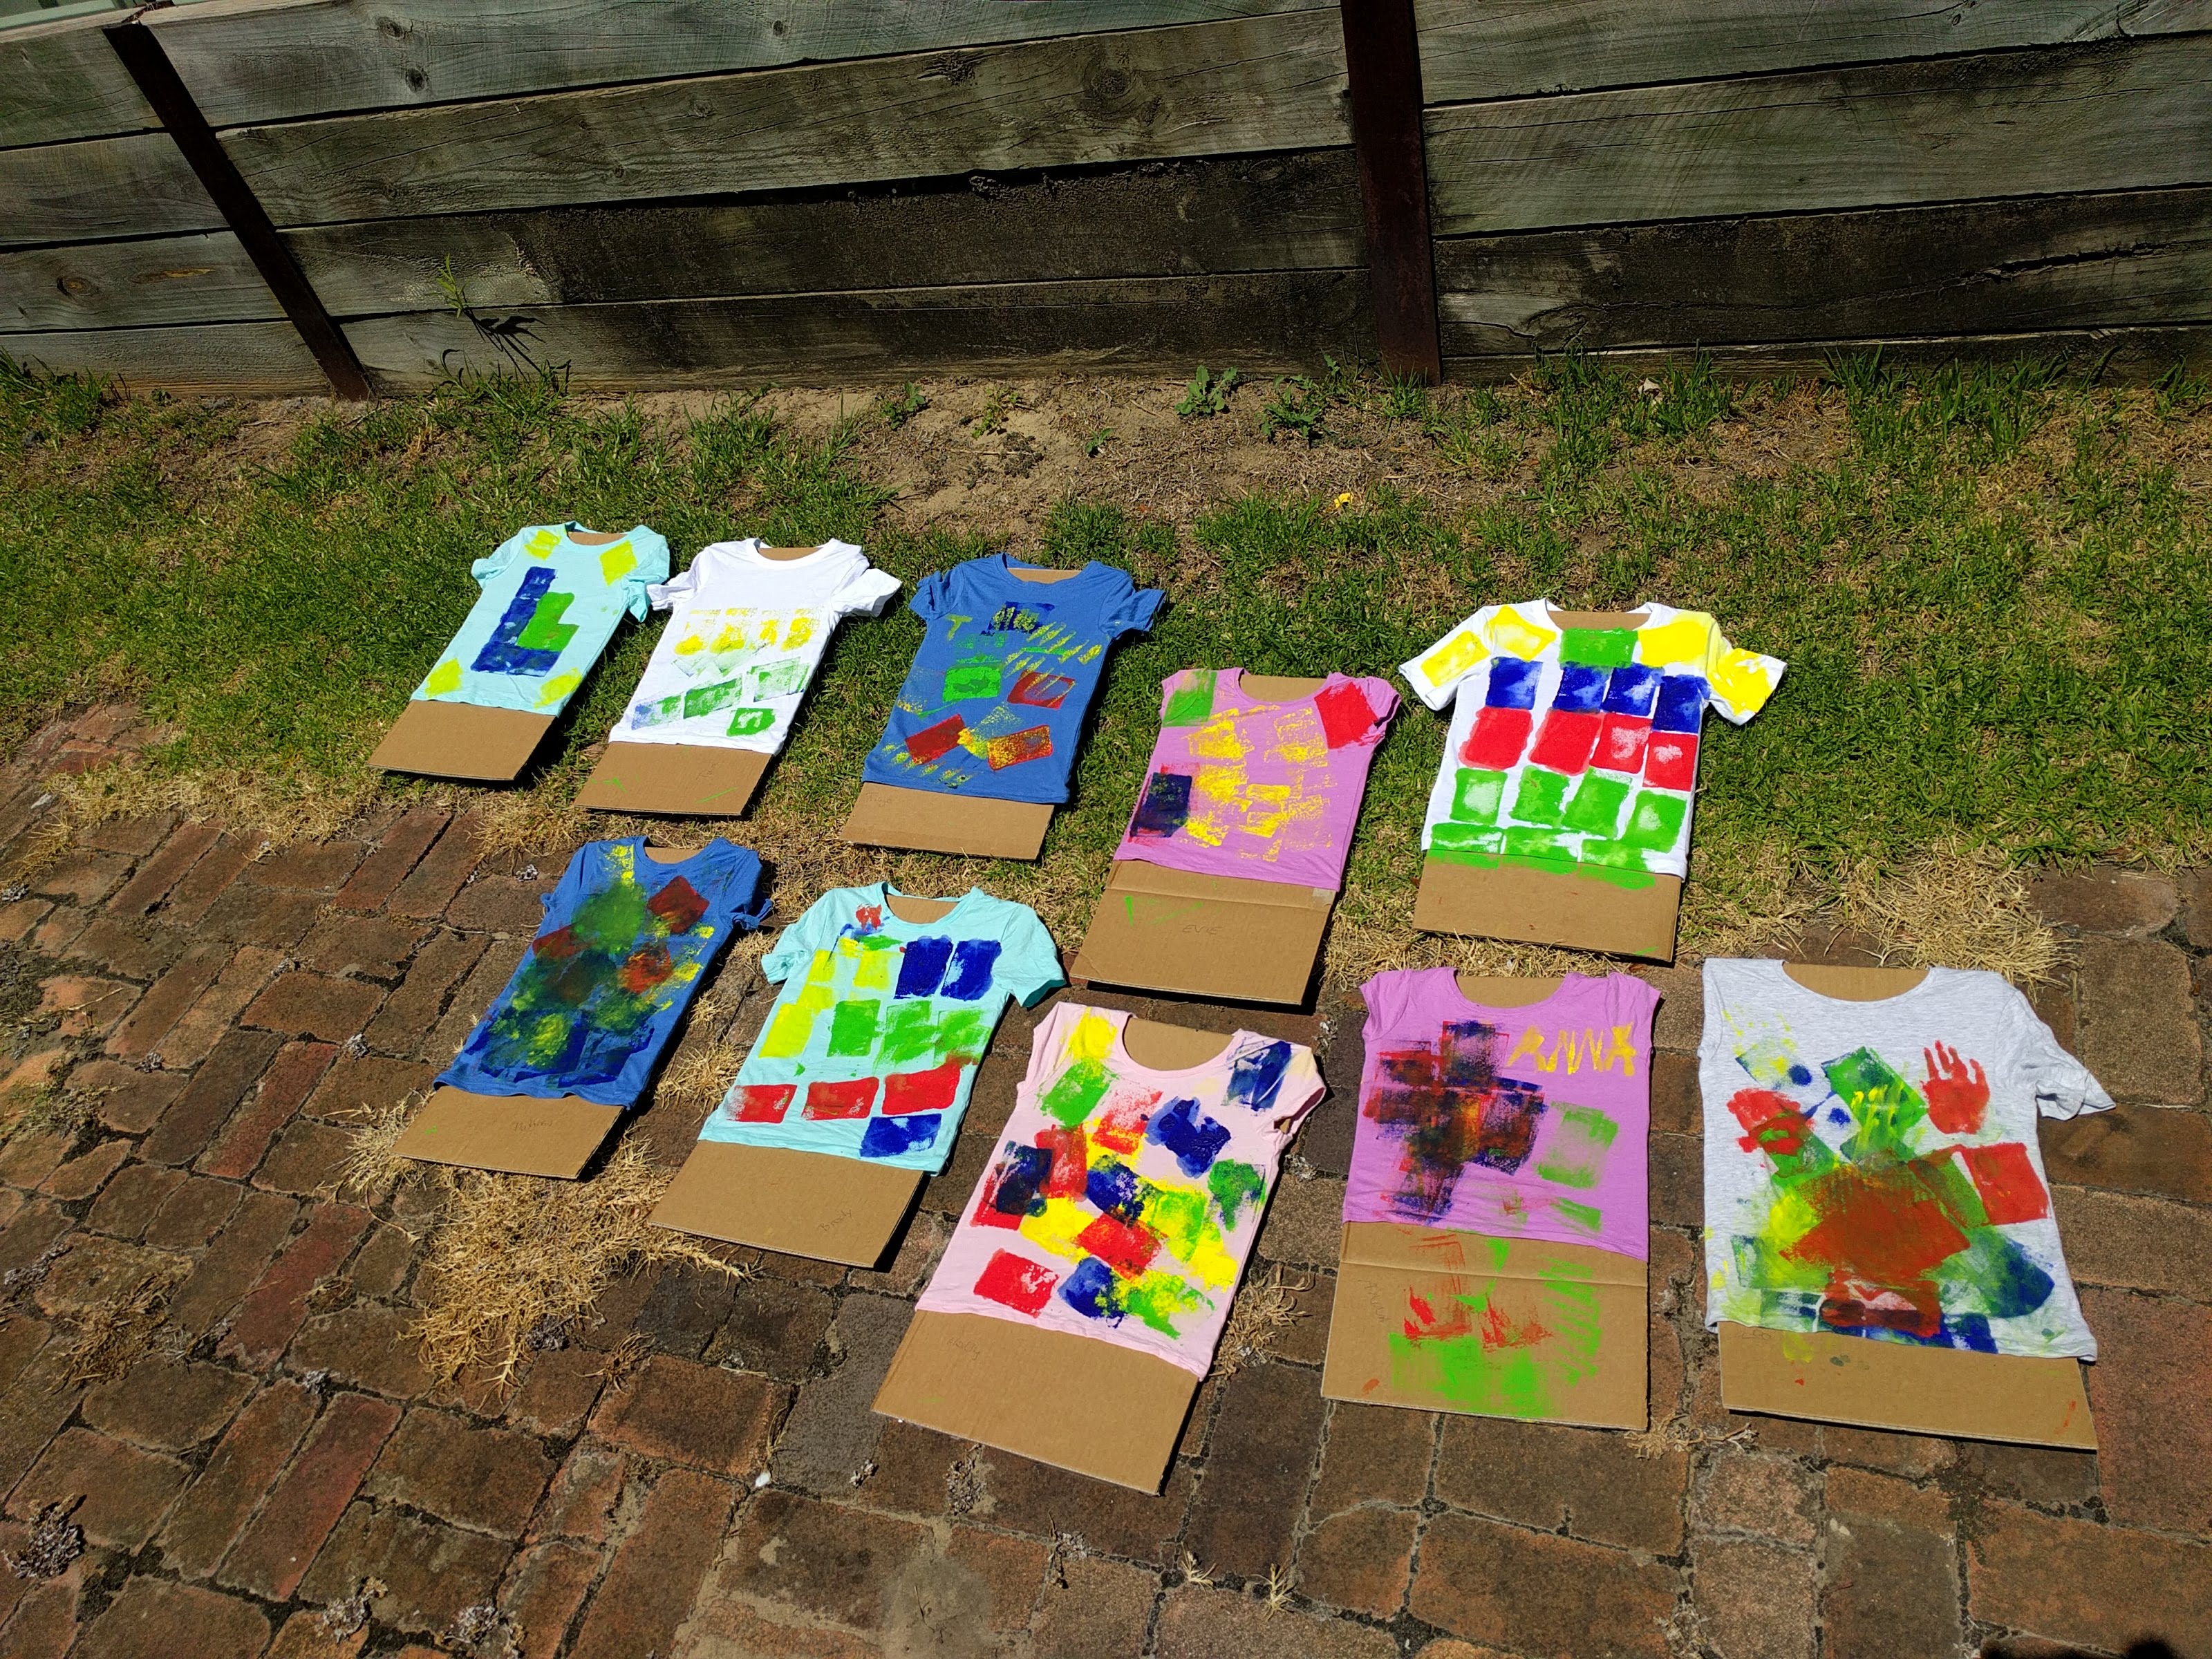
To make nice looking food wraps, choose the fabric wisely. It needs to be 100% cotton (any synthetics will burn in the oven!) and should be washed several times before use. It’s best to look for quilting fabrics. I recommend buying bright colours and small pieces of it. Or, maybe there is something to upcycle in our wardrobe? Just make sure no dyes can run out during the heating process.
Procedure
The first step is to prepare your fabric. Cut any pieces to the desired shape and size, using the pinking shears (this is important because the fabric will otherwise fray) and no larger than your baking tray. If there are any wrinkles in your fabric, iron them out. Line your baking tray with baking paper and place your fabric flat on it. Don’t overlap them. You might have to work in batches – one at a time.
Once your fabric is laid out, sprinkle with beeswax (and resin and oil, if using). There is no real measurement of how much wax to use. I recommend a medium cheese pizza-style but I also found that less is more. If you use too much wax you will end up with wax residue on your food wrap (which is not the end of the world); if you use too little you will have ‘bold’ patches. You can always add more wax and reheat it; taking it off is more difficult (but not impossible).
Now to the fun part. Place your tray with the fabric covered in wax in the oven (preheated to something below 100°C) until all wax has melted. It will take around three to five minutes. Don’t walk away because it can burn. Once everything is fully melted, take your tray out, brush your fabric lightly but quickly with your brush and return to the oven. This brushing ensured that every part of your fabric is covered with wax. Pay attention to any corners and edges and make sure they are covered as well.
Once returned to the oven, leave for less than a minute, take it back out, lift up your fabric carefully (it’s hot!) by the edges and let any excess wax drip onto your baking paper. This step is crucial because it will ensure that any excess wax runs off rather than form ‘puddles’.
If you are patient enough you can hold your food wrap until it has cooled completely (in less than five minutes). Alternatively, you can hang it on a clothesline, carefully pegging the edges.
And that’s it!
Using and caring for the food wrap
Once your food wrap has cooled completely, it is ready to use.
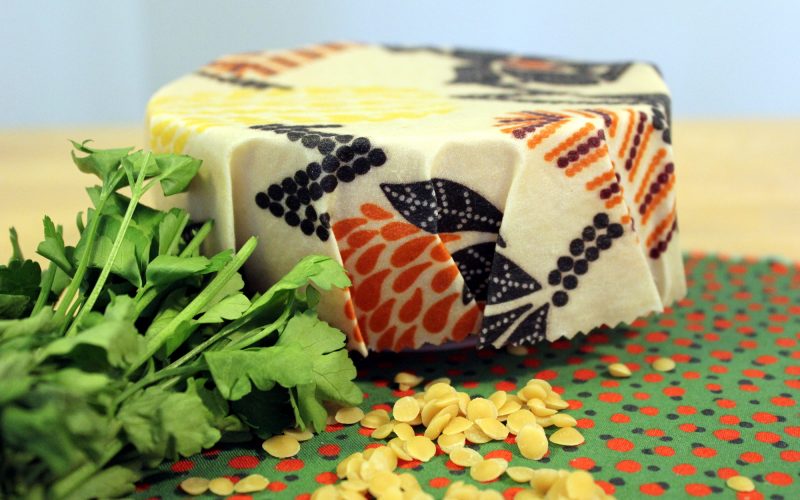
You can cover bowls, plates, cups, or glasses easily by placing the food wrap on top and folding down the sides. The wraps are stiffer than cling film but they soften with some body heat. So, when wrapping over a bowl, place your hand on the wrap on the side, enjoy a moment of contemplation, and it’s all done.
You can also use your food wrap straight on food. There are handy ideas for sandwich wraps here and here.
When food gets onto your food wrap, I recommend to wipe it as quickly as possible. Simply use a damp cloth with mild detergent and wipe clean. Don’t submerge your food wrap in hot water. It will melt the wax.
If your food wrap starts to lose its shape, reapply some beeswax using the procedure above. But do use common sense on how long you keep your wrap. Depending on their use, they can last up to a year or more.
Happy wrapping!