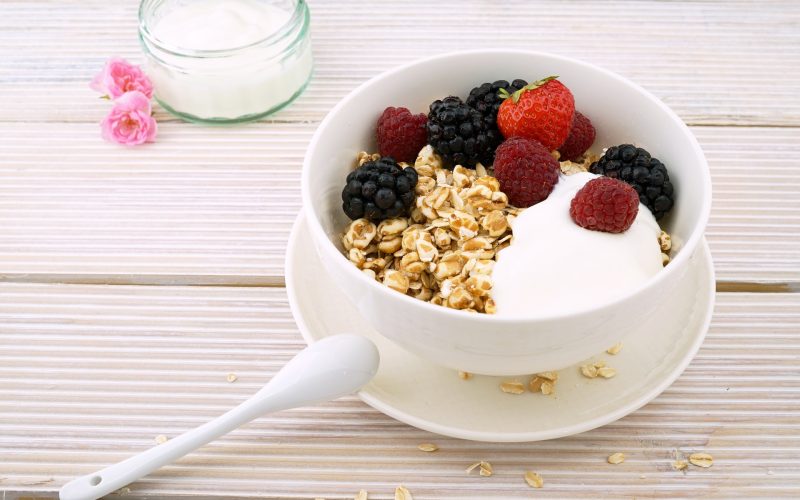
When it comes to foods, one of our staples is a homemade breakfast. A few months ago I started making my own granola and my own yoghurt. Not only does this allow me to know what’s in my breakfast bowl but it’s also really easy to make. And it saves a lot of money.
Yoghurt
Making yoghurt at home is much easier than I first thought. There is no fancy machine involved. Only my normal kitchen equipment, time, and a nice cosy place for the yoghurt to ferment.
It might be common knowledge that yoghurt is the result of bacteria fermenting milk. These friendly bacteria multiply in warm environments and produce lactic acid. Encouraging the growth of bacteria in milk requires first and foremost a good starter culture and then time and warmth.
At this point, a quick side note: I have never used anything other than cows milk for making yoghurt. There are other kinds of milk which can be used but after failing twice in making coconut yoghurt I haven’t tried anything else.
Creating a starter culture
Getting the starter culture right has been the most challenging part for me in making yoghurt. There are two ways: to use either some plain unsweetened yoghurt or to purchase a powdered yoghurt starter culture in a sachet. The former is easier to get but can be tricky to sustain; the latter is more expensive but will result in good yoghurt. I’ve tried both.
Creating a starter culture with a store-bought yoghurt is easy once you have found a good yoghurt. On my first try, I used some generic brand plain yoghurt. It worked okay but my yoghurt was grainy and I couldn’t reuse it for the next batch of yoghurt. On my next try, I bought an organic yoghurt from my local health food store. This yoghurt worked much better and made really good yoghurt which I could use as a starter for many batched after the first.
In between these attempts of creating a starter culture I bought a sachet of powdered yoghurt starter from our local brew store. The culture is kept in the freezer and was comparatively more expensive. However, it made a very smooth yoghurt which I was able to reuse as a starter.
Once I had made a decent yoghurt I made sure that I kept about three tablespoons aside to use in my next batch of yoghurt. I was able to reuse the same yoghurt as a starter roughly ten times before the resulting yoghurt started turning grainy (which is a sign of a bad starter culture). Then it was time to start again with a bought starter – a good yoghurt or a powdered starter culture.
Making yoghurt
Making yoghurt starts with heating milk (preferably fresh but almost any will do) to boiling and to keep it boiling for roughly five minutes. After the boil, l I turn my stove off and leave the milk to cool down to touch. Once cool enough I transfer my (then) warm milk into a container, add the starter culture, stir it well and let it sit in a warm place for anything between 4 and 18 hours. That’s it!
Okay, there is more to it than that. For example, the amount of starter culture used will determine the number of bacteria in the yoghurt and thus its consistency. The time the yoghurt sits (and ferments) determines the flavour of the yoghurt – the longer it ferments the sourer it becomes. The milk used for the yoghurt will determine the consistency of the yoghurt. I found that long-life milk will make runny yoghurt while fresh milk will make thicker yoghurt.
The heating of the milk, however, is not optional in making yoghurt. Cows milk has to be heated to around 85°C in order to break down the milk proteins. This breaking down is necessary so the milk does not form curds but rather a smooth yoghurt.
Creating a warm environment for the yoghurt to ferment can be challenging without special equipment. I have found that a warm oven, however, is enough to make my yoghurt. While I mix the warm milk with the starter culture I preheat my oven to around 50°C. Once the mixture is ready I put it in the warm oven, turn the heat off but leave the light on (the light is optional; it contributes a little warmth to the oven). Once my yoghurt has reached its desired thickness I store it in the fridge to stop the fermentation process.
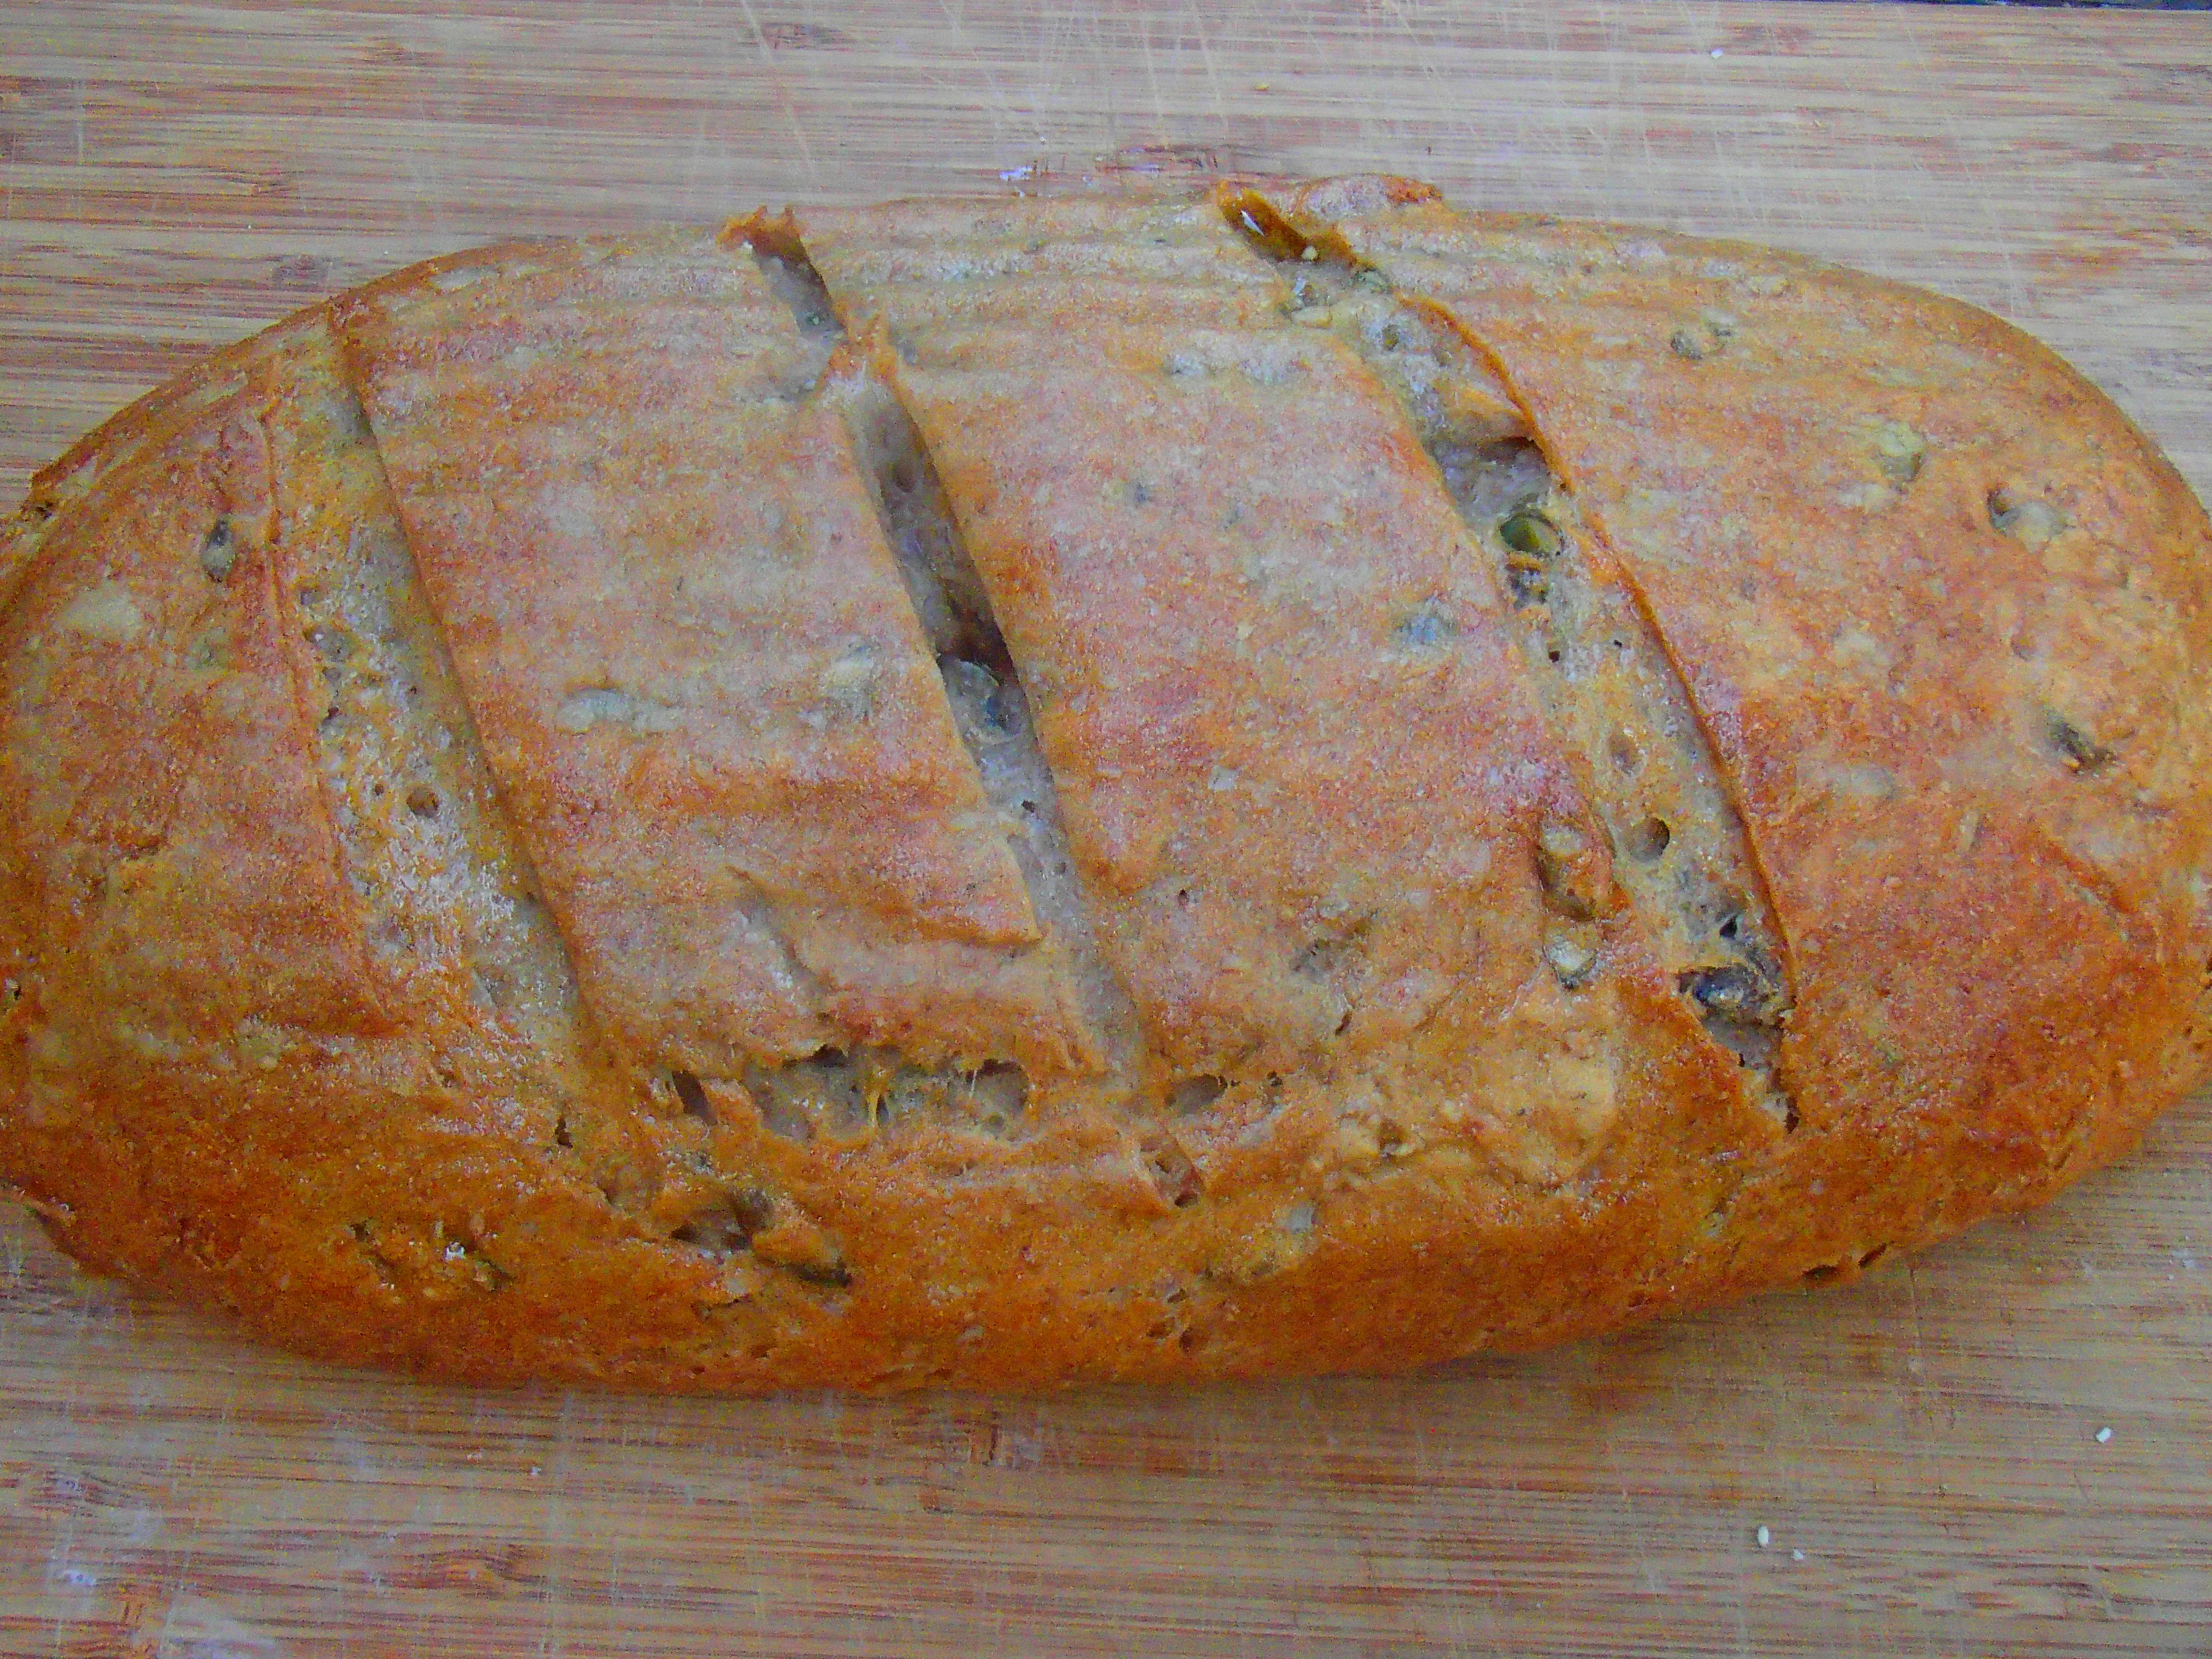
Granola
Compared to the yoghurt, making granola involves far less science but many more ingredients. Before I dive into the making just one note on granola versus muesli: the difference is that granola is baked and generally includes some oil and sweetener. Either is completely optional and depends very much on taste and time available. The ingredients are the same.
For my granola I use this rule of thumb as a recipe: 200g rolled oats, 200g mixed nuts and seeds, 150g dried fruit; sprinkled with some olive or coconut oil, honey or maple syrup, cinnamon or mixed spice, coconut flakes, and cacao powder. I vary all ingredients and try out new mixtures.
The making of granola is simple: combine everything except the dried fruit in a large baking dish, baked for around 30 min at 180°C while stirring every five minutes (this is important to avoid burning). Once cooled I add the fruit and store in an air-tight container. Voilá!
Just one comment on the ingredients: it pays to cut large nuts and fruit. I have found that whole nuts like walnuts or almonds or whole fruit like apricots or dates can be too dominant in the breakfast bowl. Also, be aware of children eating whole nuts.
Preparing a breakfast bowl in the morning is a breeze now. Fresh fruit is optional but it makes an awesome extra. Happy eating!