I have found melting oils and butters together the easiest way to a skin care product. There are other methods such as cold blending but they require more power. Below I’m describing the basic (double boiler) technique.
Tools
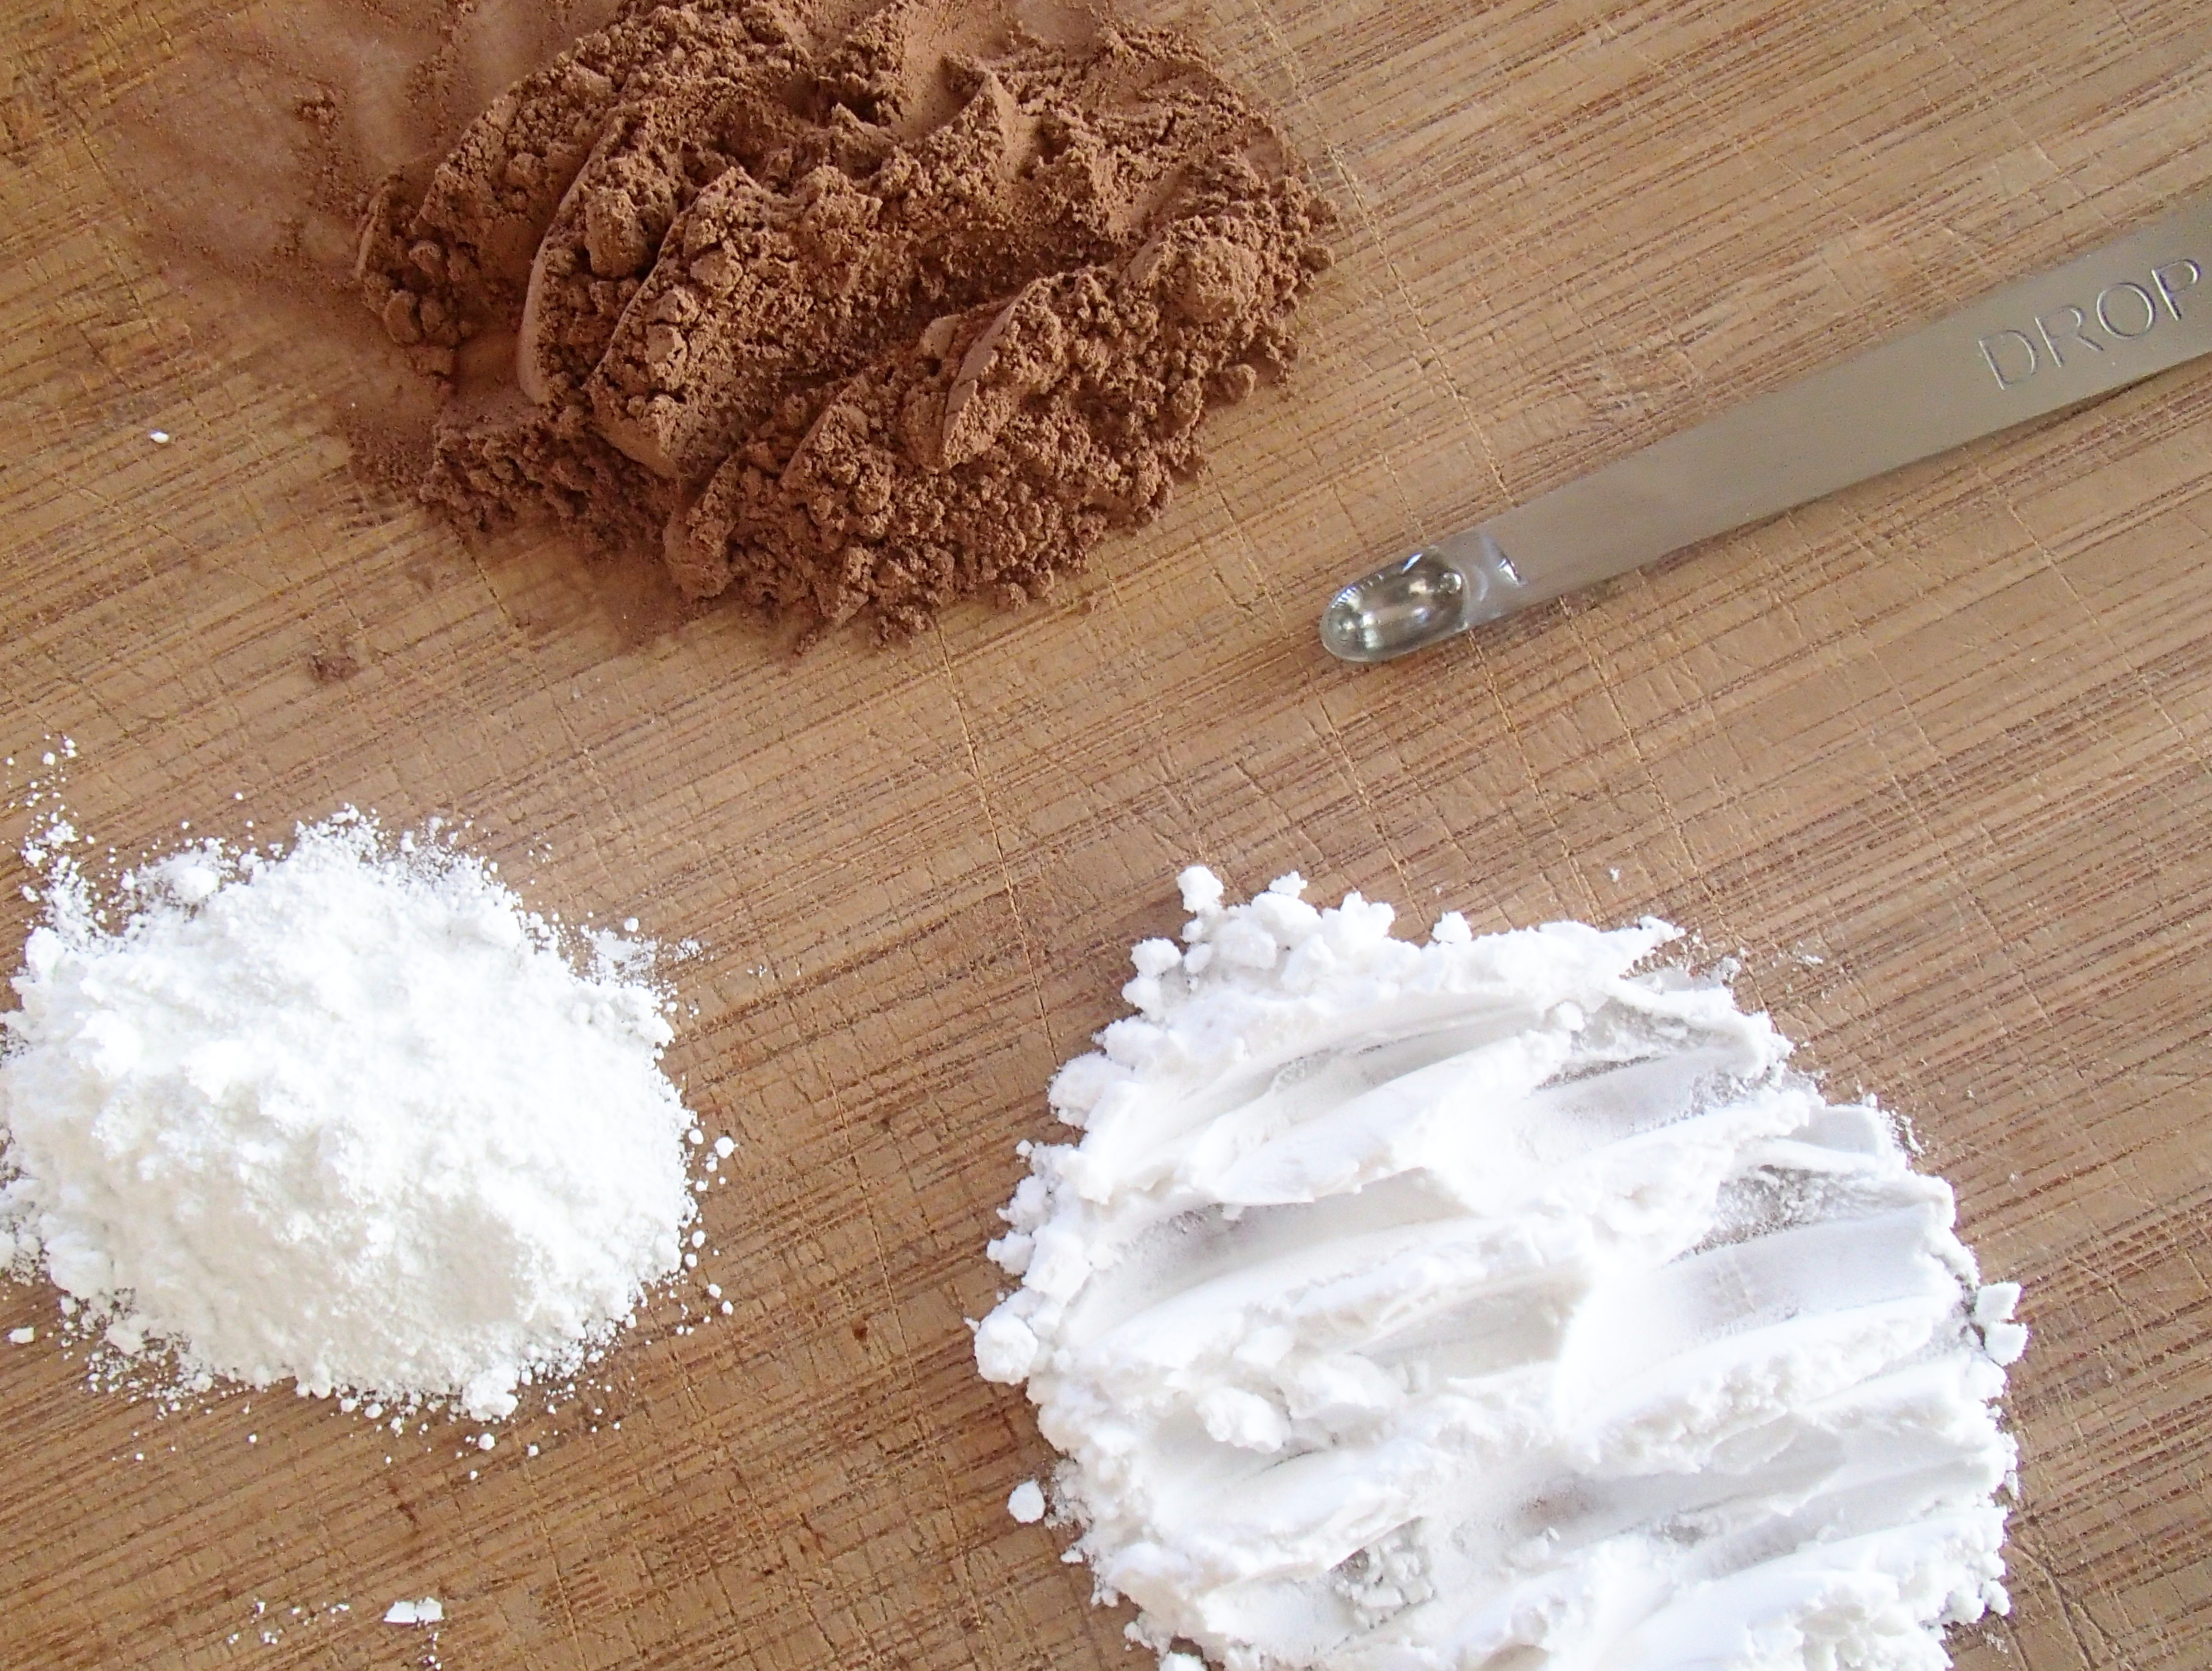
The tools needed to make your own skin care product are relatively simple. You will need a clean lidded jar for your product (preferably glass; ensure its odourless if reusing a jar), a pot, a set of digital scales or another measuring device (depending on your recipe), a spoon or a fork, and a thermometer. Ideally, you would also use a separate jug to mix and melt your ingredients but this is not essential. You can melt your ingredients straight in your jar IF this jar is heat resistant. Please make sure you have a way of removing the jar from boiling water.
Method
Melting oils and butters should always be done in a double boiler (otherwise you’ll be frying your oils). A double boiler means to have two separate containers: one pot with water and one jar or pot with the oils and butters (I call it the ‘melting container’). The former should be slightly larger than the latter. The jar for the oils and butters needs to be heat resistant – no plastic.
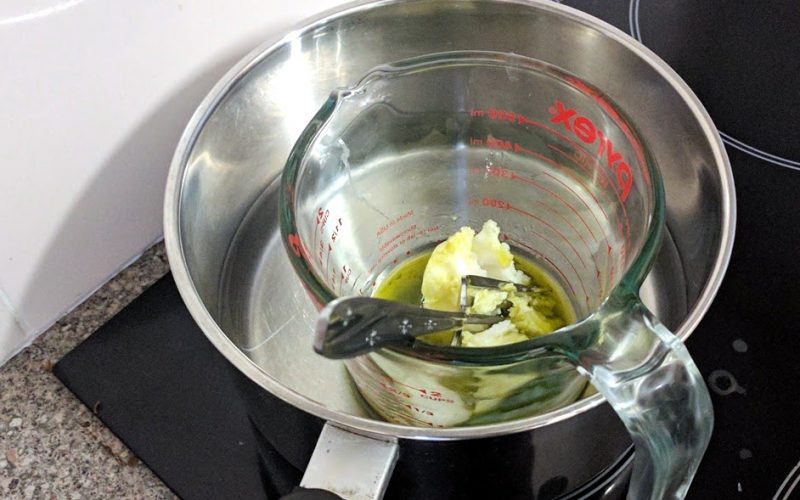
I have found Pyrex jars to be extremely helpful because they are designed to distribute heat evenly and the handle can easily hang out of the pot.
It can also be helpful to use a bowl which is slightly larger than the pot and to sit it on top of the pot. This can help to avoid and water entering the oil/butter mixture.
The pot is filled with water, about one inch or three centimetres. This is an average and depends very much on the melting container being used. The melting container should be in contact with the water in the lower third.
Melting
Once the water is in the pot and all ingredients are measured into the melting container it is time to start melting. Place the pot on the stove and the melting container inside/on top of it. Don’t walk away from the heat because the water will boil quickly (it’s not much).
It pays to bring the water to a boil slowly. That way the oils and butters can melt slowly and heat is distributed evenly.
While bringing the water to a boil, stir the ingredients in the melting container. I like to use a fork but a spoon works just as well. Try to use a smaller tool rather than a larger one. Don’t use wood!
It is absolutely crucial at this point to not allow any water drops into your mixture. Therefore, don’t boil the water hard but rather let it carefully simmer. Also, never place a lid over our melting container. If water does enter your mixture, you will have to discard your mixture and start again.
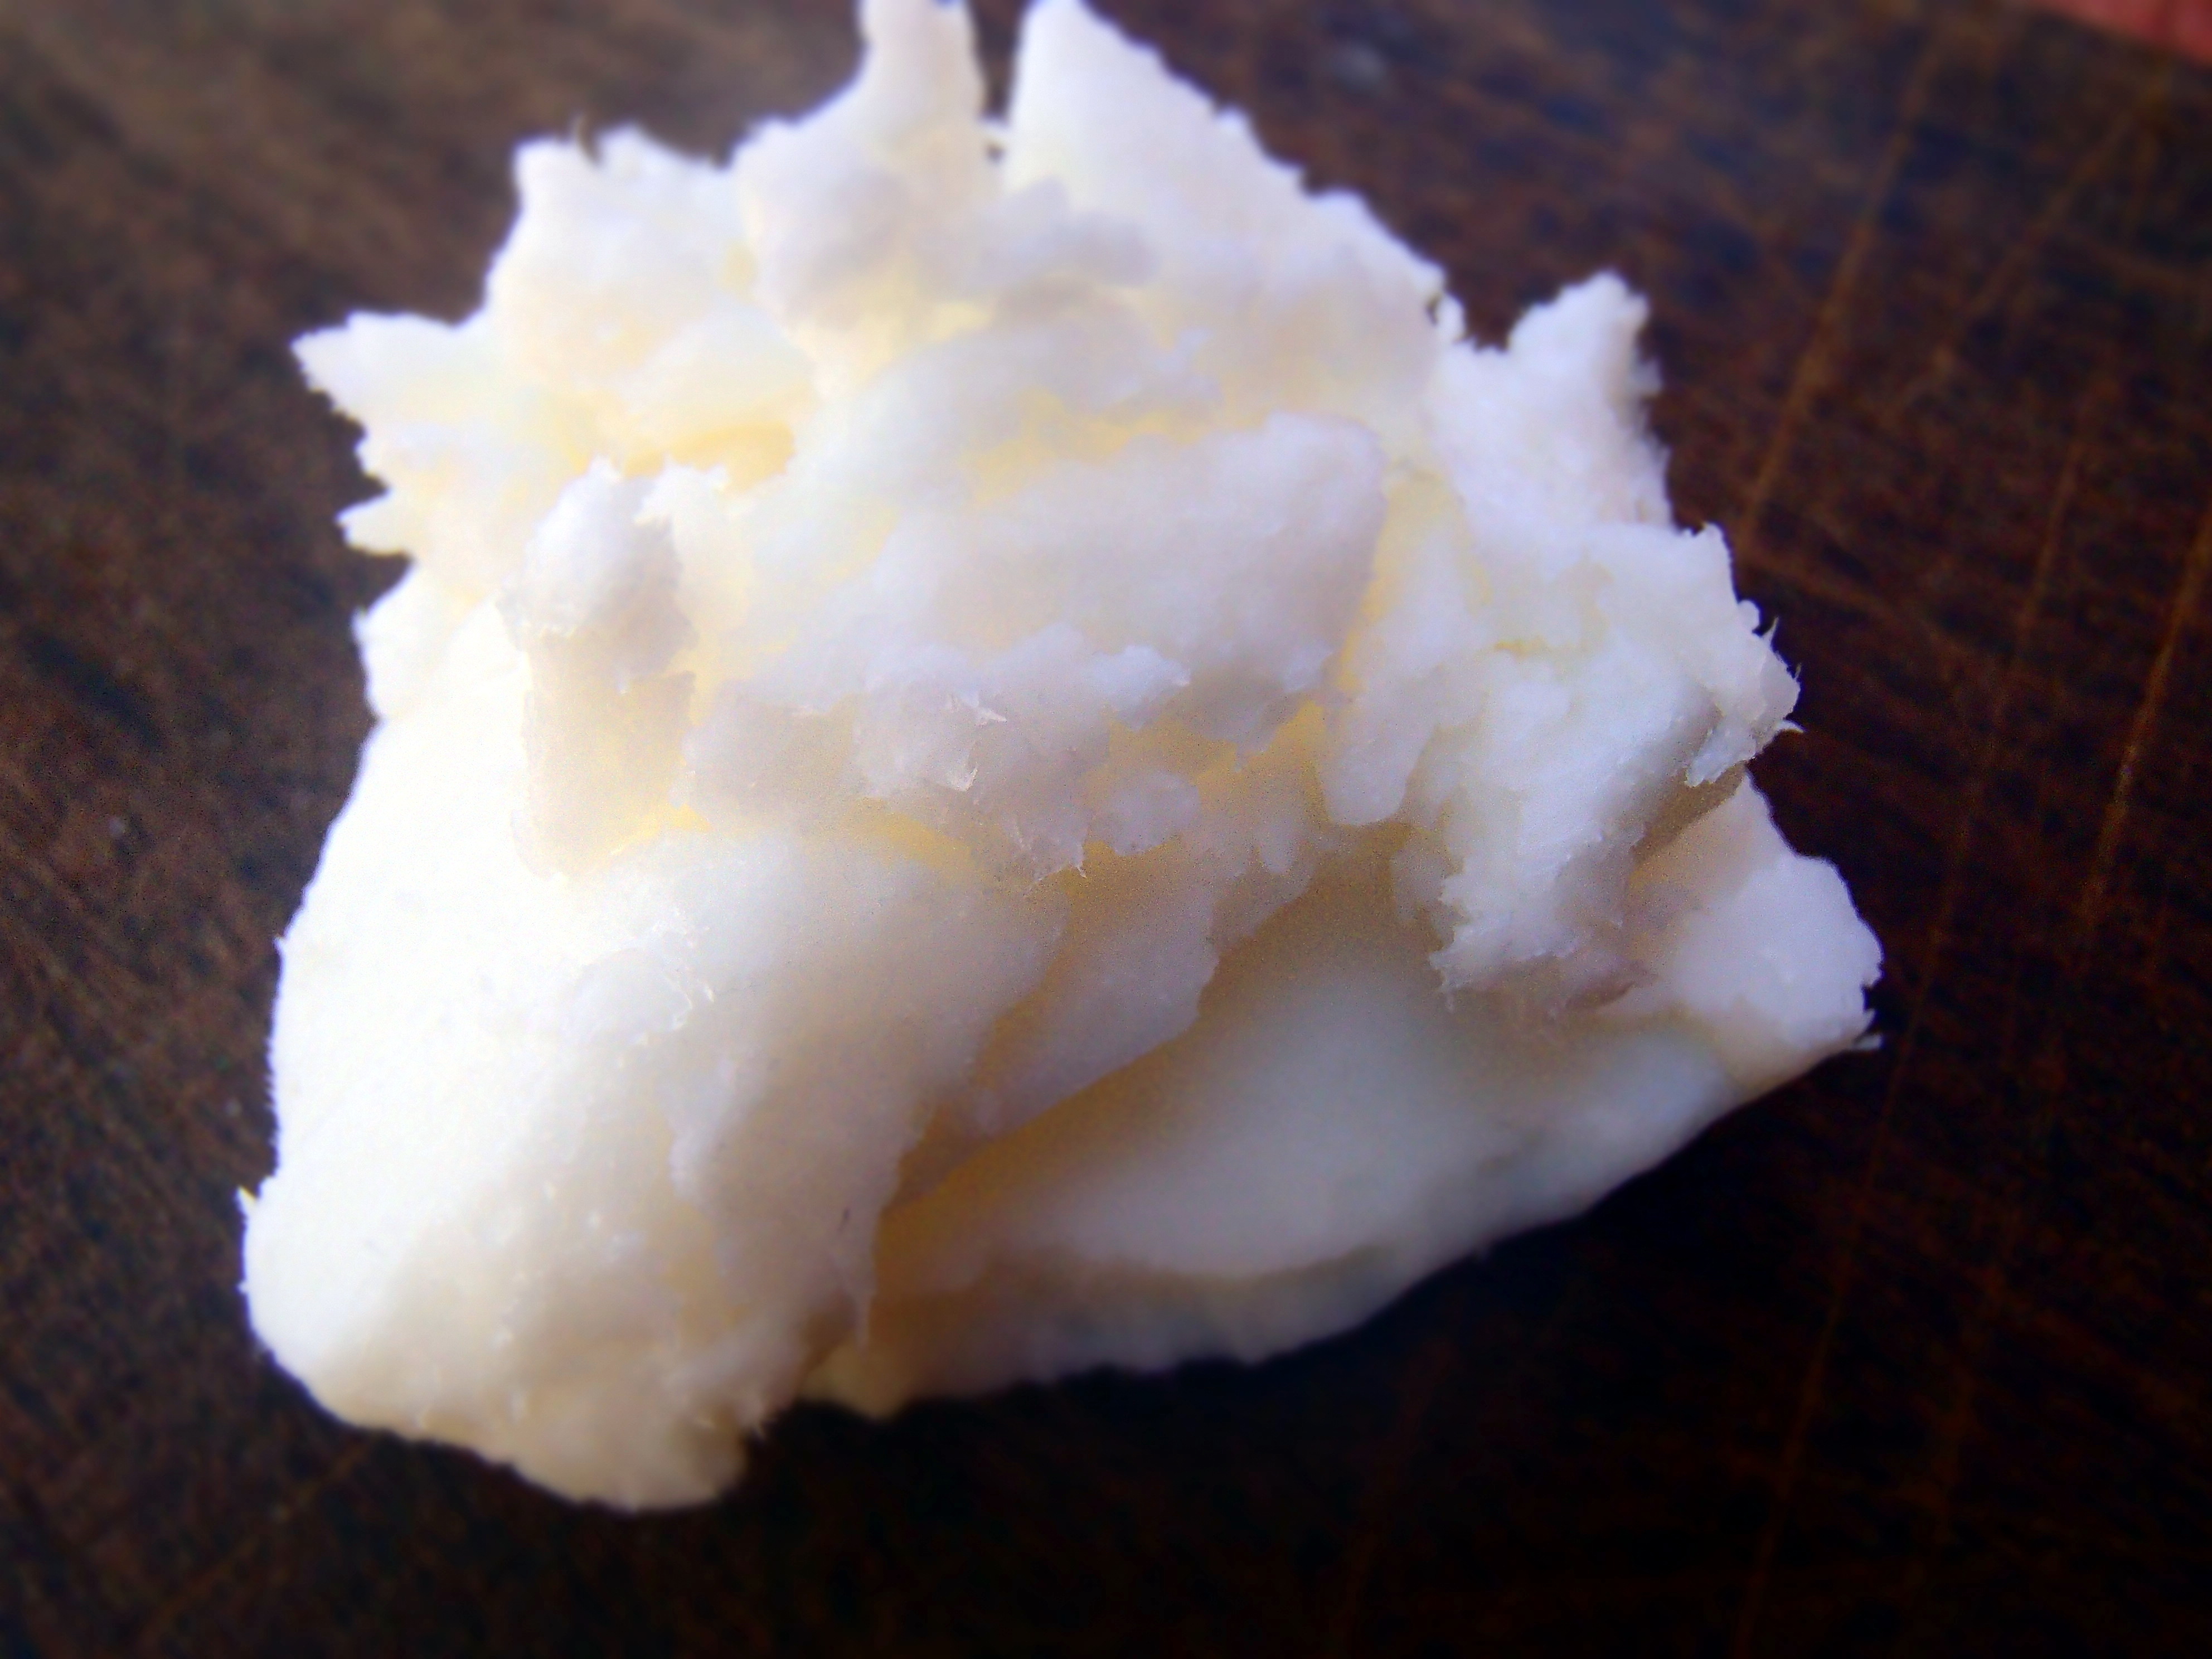
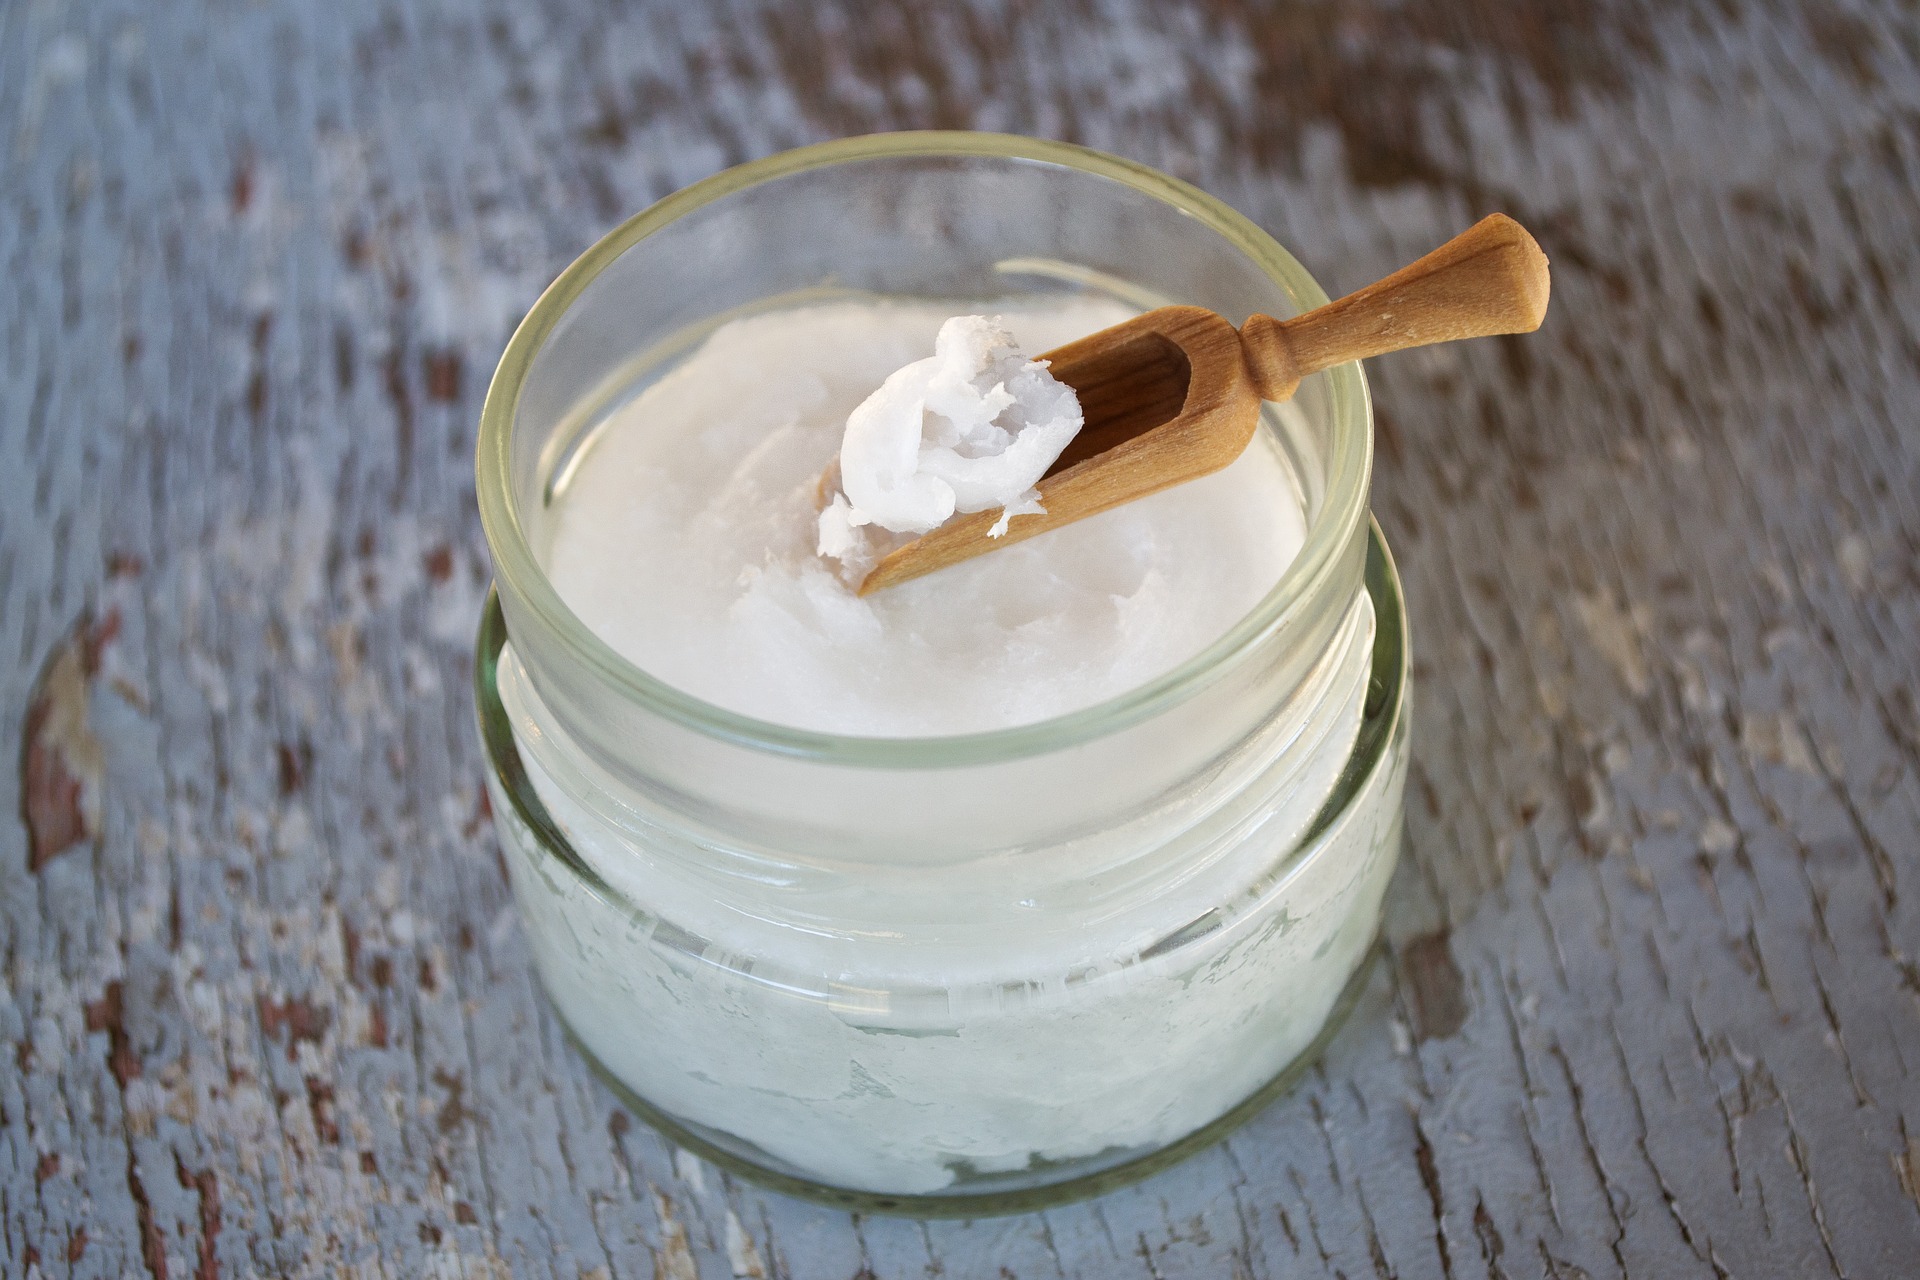
Depending on your ingredients you need to leave your melted oils and butters in contact with the hot water for a few minutes (for raw cocoa butter, for example, it is advised to keep a temperature of 82°C for 20 min). If using shea butter I take my mixture from the water as soon as everything is melted. This can be done for most other ingredients if you’re working with refined ingredients.
Finishing up
Once the mixture is taken off the boiling water, wait a minute or two and then add any additives, pour into your jar, and maybe (depending on the ingredients) let it rest in the fridge for an hour or so.
And then, enjoy your homemade skin care product!