There are more and more things I discover which are easily made at home. Ginger beer is one of them. It’s relatively easy to make, requires limited equipment, and it’s ready to drink in about three days.
Equipment
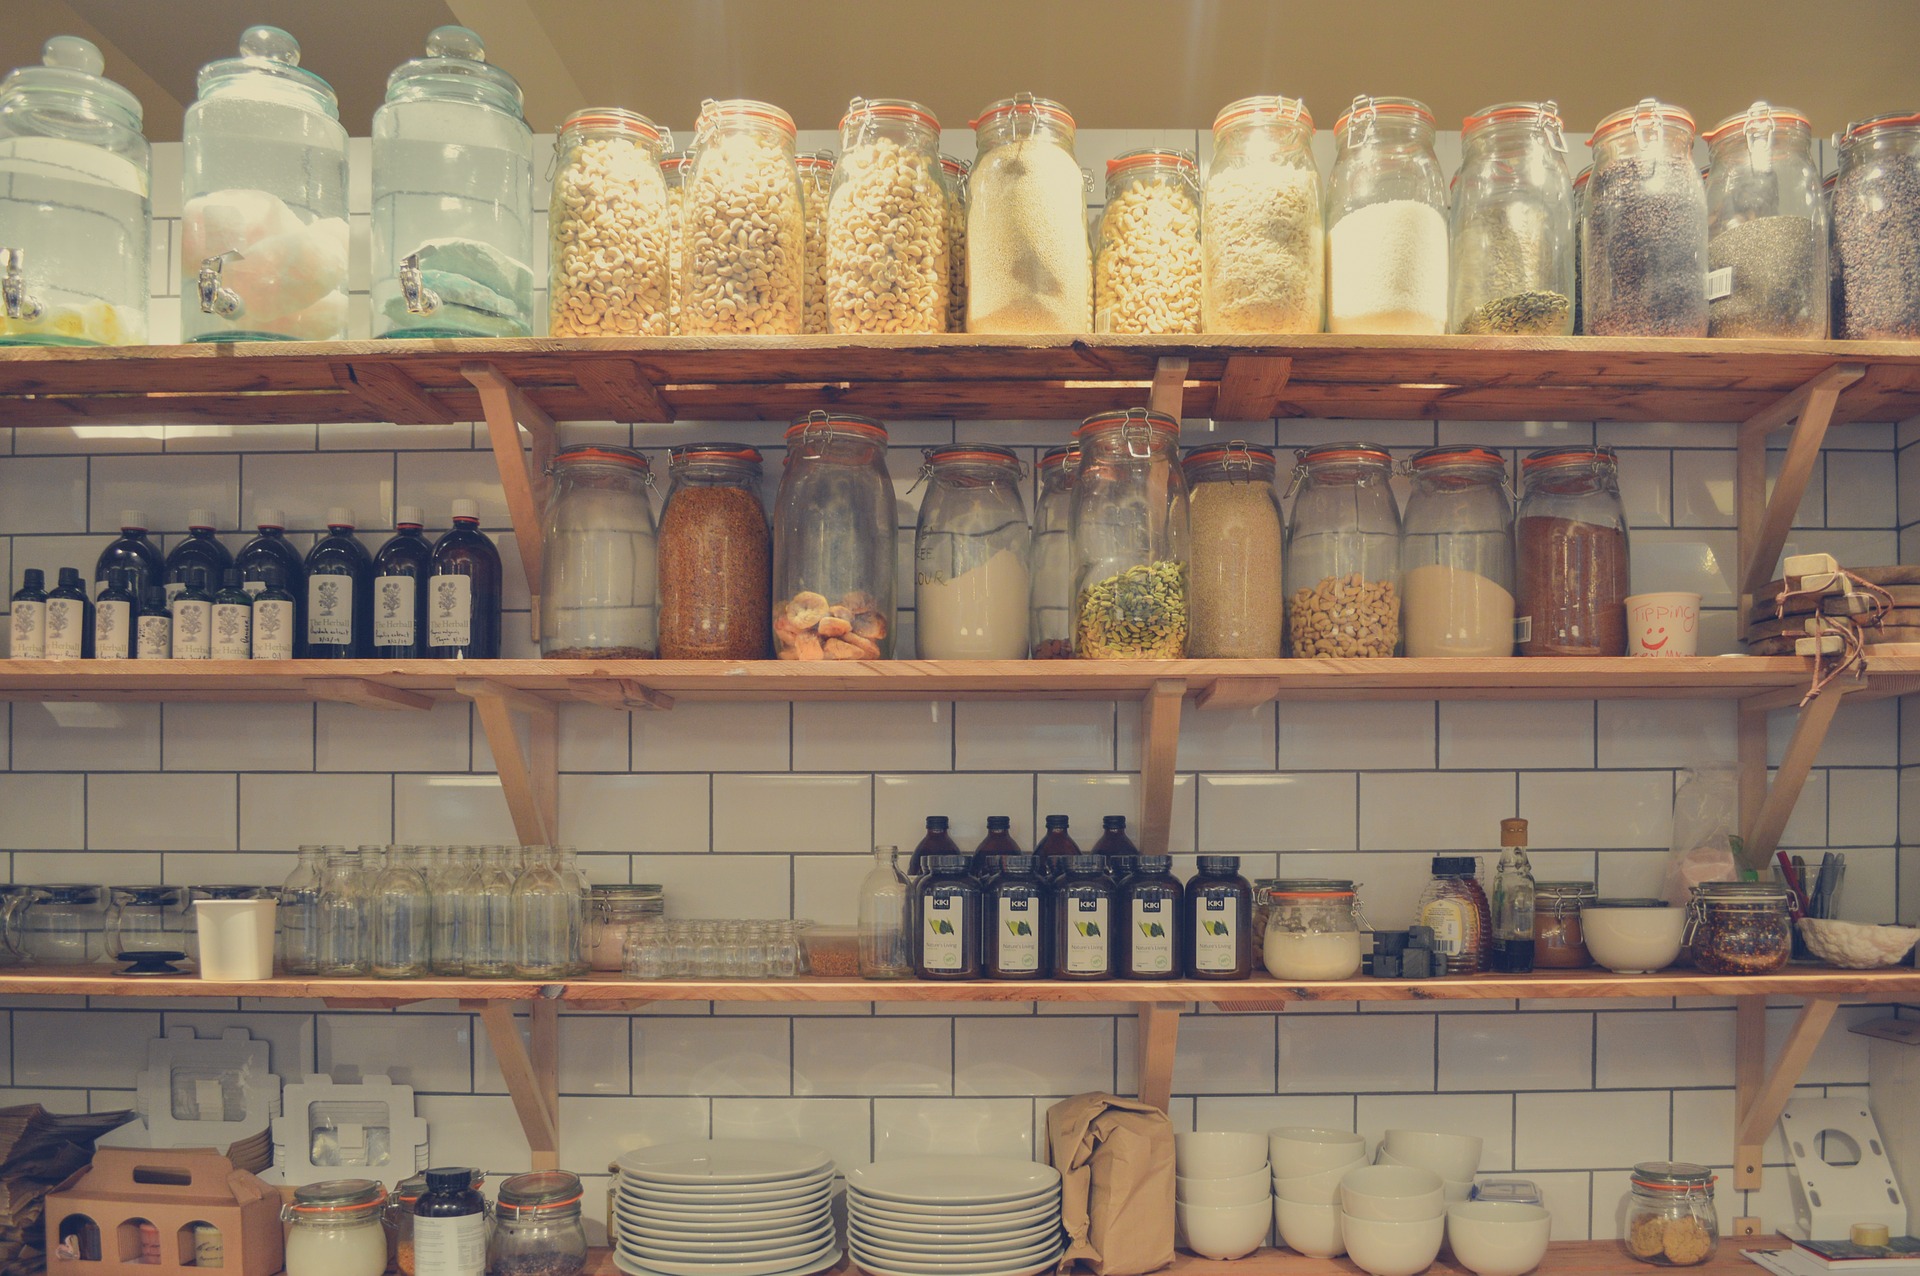
The equipment needed to make ginger beer at home is basically a set of special bottles. In our case, we got plastic bottles from a brew store which are designed to expand. I have heard from friends that they brewed ginger beer in glass bottles as well. Glass bottles would require close observation and regular ‘burping’ so plastic bottles were the way for us.
With the bottles, I also bought a couple of sachets of ginger beer yeast. We’re lucky that we have a brew store close by where we can get our supplies but there are online stores as well.
Ginger beer yeast produces a non-alcoholic beer rather than an alcoholic one (Note: there might still be some alcohol in a home-brew ginger beer but it’s very limited since the beer ferments for only three days). There are methods of making your own ginger beer yeast. However, this yeast will contain some alcohol in the starter.
The last piece of equipment is a large pot. We have a pot which holds five litres and it’s perfect for brewing. It really depends on how much you want to make though.
How to make ginger beer
Preparation
Making ginger beer starts with grating fresh ginger. We have always bought our ginger at the supermarket but you can also grow it yourself (or use someone’s home grown ginger). The key is just that the ginger needs to be fresh. Also, we never bothered peeling it but that’s a personal preference.
Once grated, the ginger goes in the pot with water and sugar. Our recipe has been this: 150g of grated ginger, 450g of sugar, 5l of water. We’ve been experimenting with the sugar a bit. Brown sugar seems to be okay for this recipe, raw sugar didn’t really work but white sugar is the best. Again, this is a personal preference. Basically, the yeast will need something to feed on in order to ferment the ginger and to form bubbles.
Once combined the pot needs to go on the stove and boil. We boil our ginger-sugar-water for about ten minutes and then let it cool down. However, there are also recipes that don’t require boiling and work with a different kind of yeast.
Once our ginger-sugar-water solution has come back to room temperature we add the yeast. Since we’re working with yeast in a sachet, our measurement has been about half a sachet for 5l. But check these amounts depending exactly on the kind of yeast you’re using.
Bottling
With the yeast added, the ginger-sugar-water is ready to be bottled. It’s important here that the solution is filtered. We typically use a sieve which removes the largest pieces of ginger.
However, if you want a very clear ginger beer you can also use a cheese cloth. We don’t mind the little sediment at the bottom of the bottle.
The bottling process is typically something for two people: one pours and one holds the sieve, funnel, and bottle in place. We never fill our bottles to the brim and leave room for the gas. This is important because the yeast and sugar will react with each other and produce carbon dioxide (aka the bubbles). Working with plastic bottles somewhat helps but leaving room in the bottle is still important.
Once all the mixture is in the bottles, the beer is ready to ferment. We leave our bottles in our pantry or in the garage. Basically, the bottles need to sit in a cool-ish place. The higher the temperature the faster the fermentation.
The brewing progress
After about two days we check our bottles. Since it’s plastic we can tell by simply squeezing the bottle how the beer is going. If the bottle is hard, the sugar and yeast are working away and it’s going well. Soft bottles aren’t a good sign.
Day two of the beer is also a good time for a first ‘burping’. By this, I mean that we carefully open the bottles and let the gas (not the beer!) out. The reason for this burping is to stop the bottle from exploding. The yeast and sugar will have been working away inside the bottle, creating a lot of carbon dioxide.
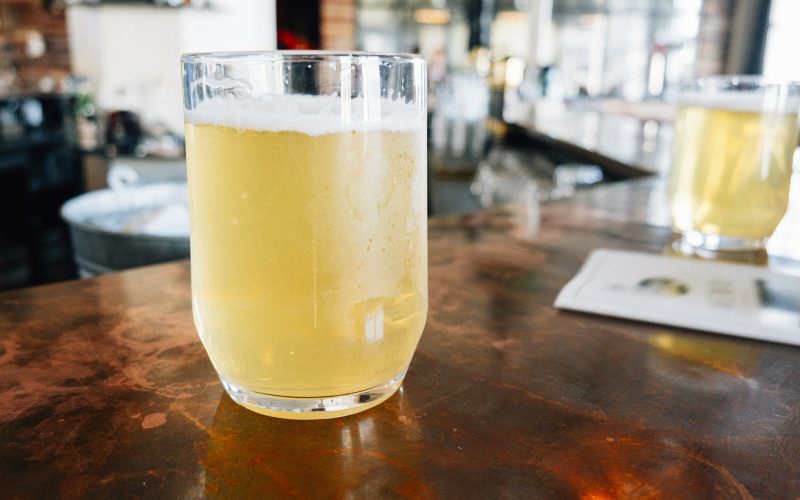
The beer is ready to drink at around day three, once the bottles are hard again. However, we’ve never had any issue with leaving the bottles a little longer. We even found that the longer (a few more days, not weeks!) we leave it the mellower the flavour of the ginger.
To stop any fermentation process, simply put the bottles in the fridge. The cool temperature will stop the yeast.
And, voilá, this is how we make ginger beer.
Why make your own ginger beer
Aside from the awesome feeling of having made something at home from scratch, making your own ginger beer also means you can control the amount of sugar and ginger in it. The recipe we use makes a decent beer, tasting not too strongly of ginger while being sweet enough to pass as a beverage.
Again, it’s all about personal taste. Making your own ginger beer, like so many homemade things, has the advantage that you can customize it to your taste. Give it a go!