One of the most intuitive methods of food preservation is drying food. You can dry almost any food, from fruit to meat. It’s possible to simply dry them in your kitchen window. Other methods include an oven and a food dehydrator. I will focus here on the easy, no-cost version of drying: air drying and a little oven drying.
Things to keep in mind
There are only very few exceptions of foods that are not suitable for home drying: raw veggies, dairy products and eggs, and fruit with a high-fat content. Other than these foods, anything goes. However, the time it takes for food to dry properly (i.e. until all moisture and with it, all bacteria, yeasts and moulds are removed) differs widely.
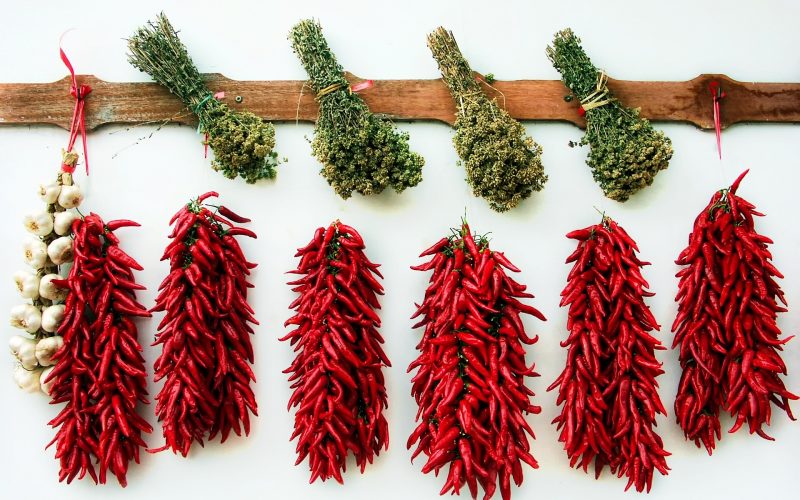
The most important aspect of air drying foods is good air circulation. When air has the possibility to move freely, food will dry quicker and chances of mould decrease. Possible spaces for air drying in this way are outdoor, shaded areas, as well as indoor, well-ventilated rooms.
For oven drying, the line between drying and cooking your foods is fine. The rule of thumb is to go as low as possible for as long as possible.
Preparing your foods for drying is important to have the best outcome. For example, thick apple slices will dry less quickly than thin slices. It’s a matter of personal taste however and how long you want to store your foods for.
There is also the aspect of browning to keep in mind when working with fruit. A few methods to prevent brown, shrivelled fruit are ascorbic acid and citric acid.
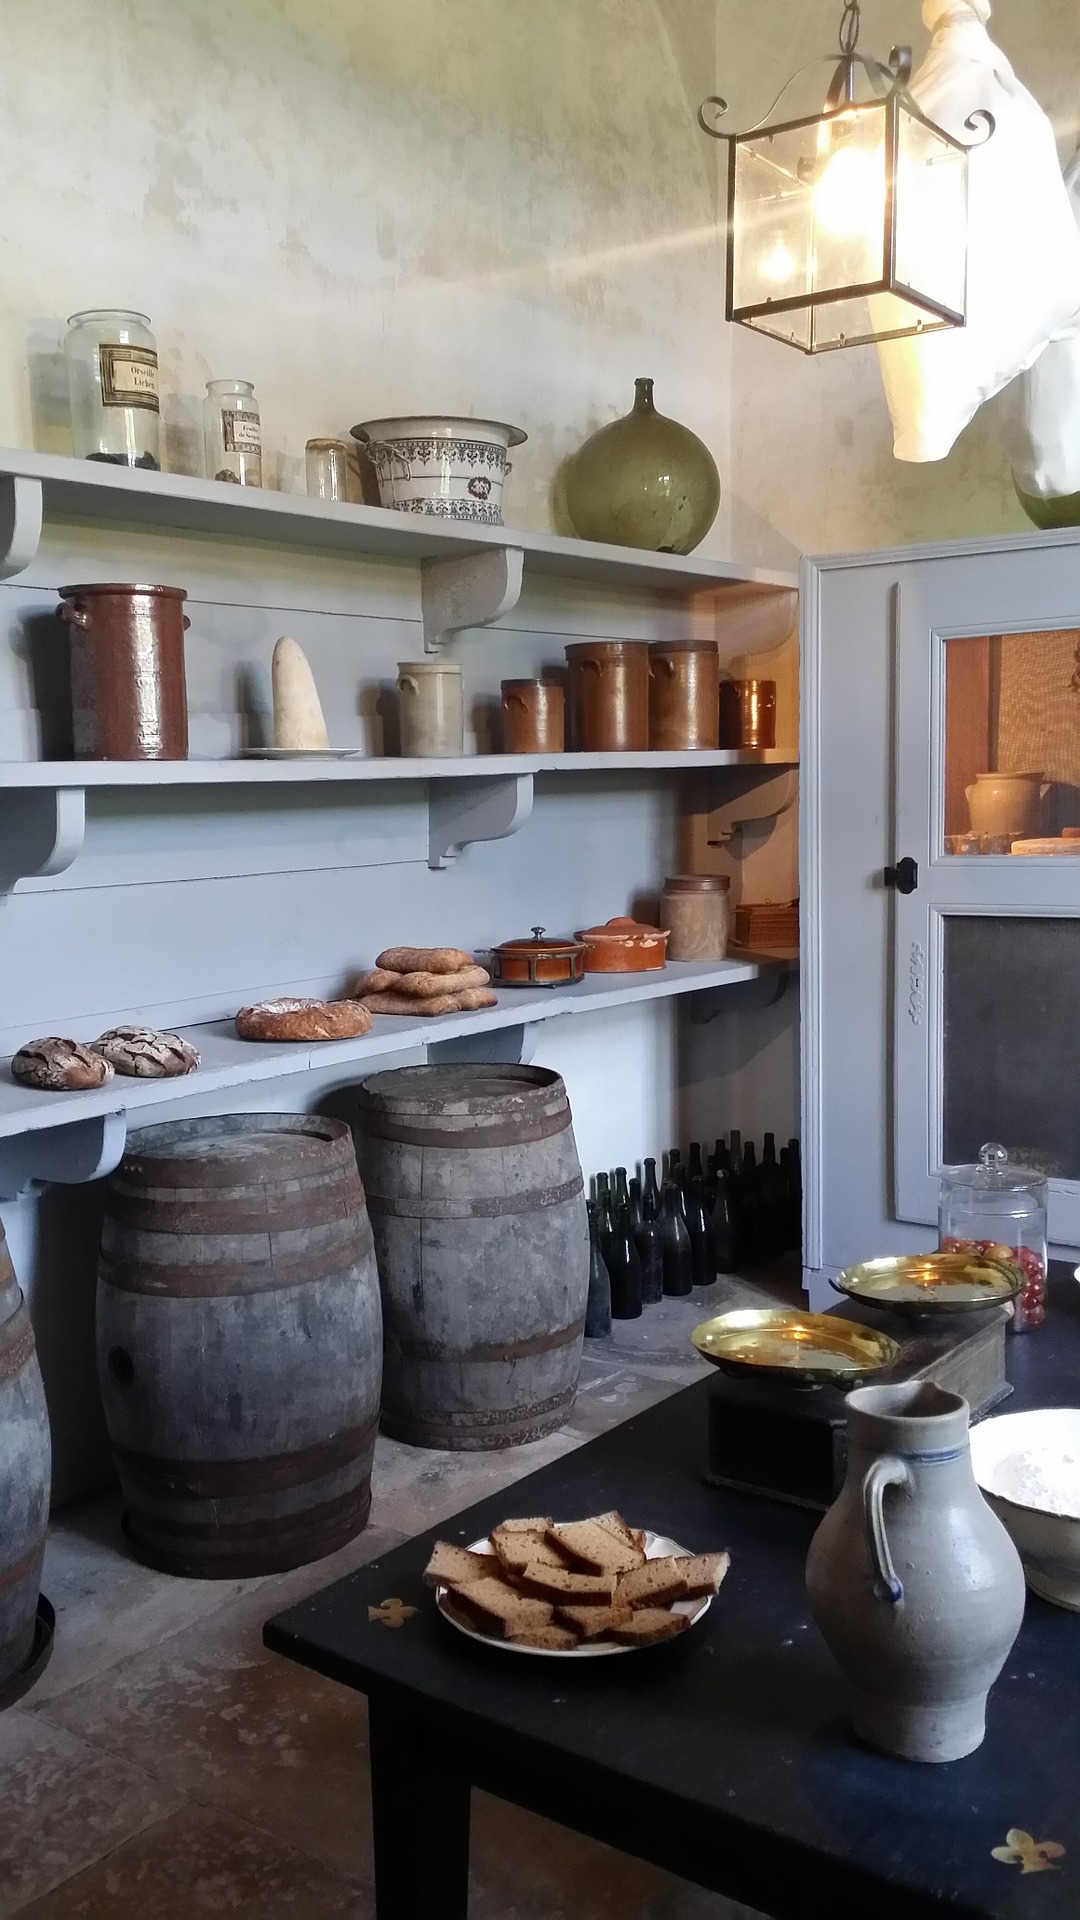
Storing dried foods
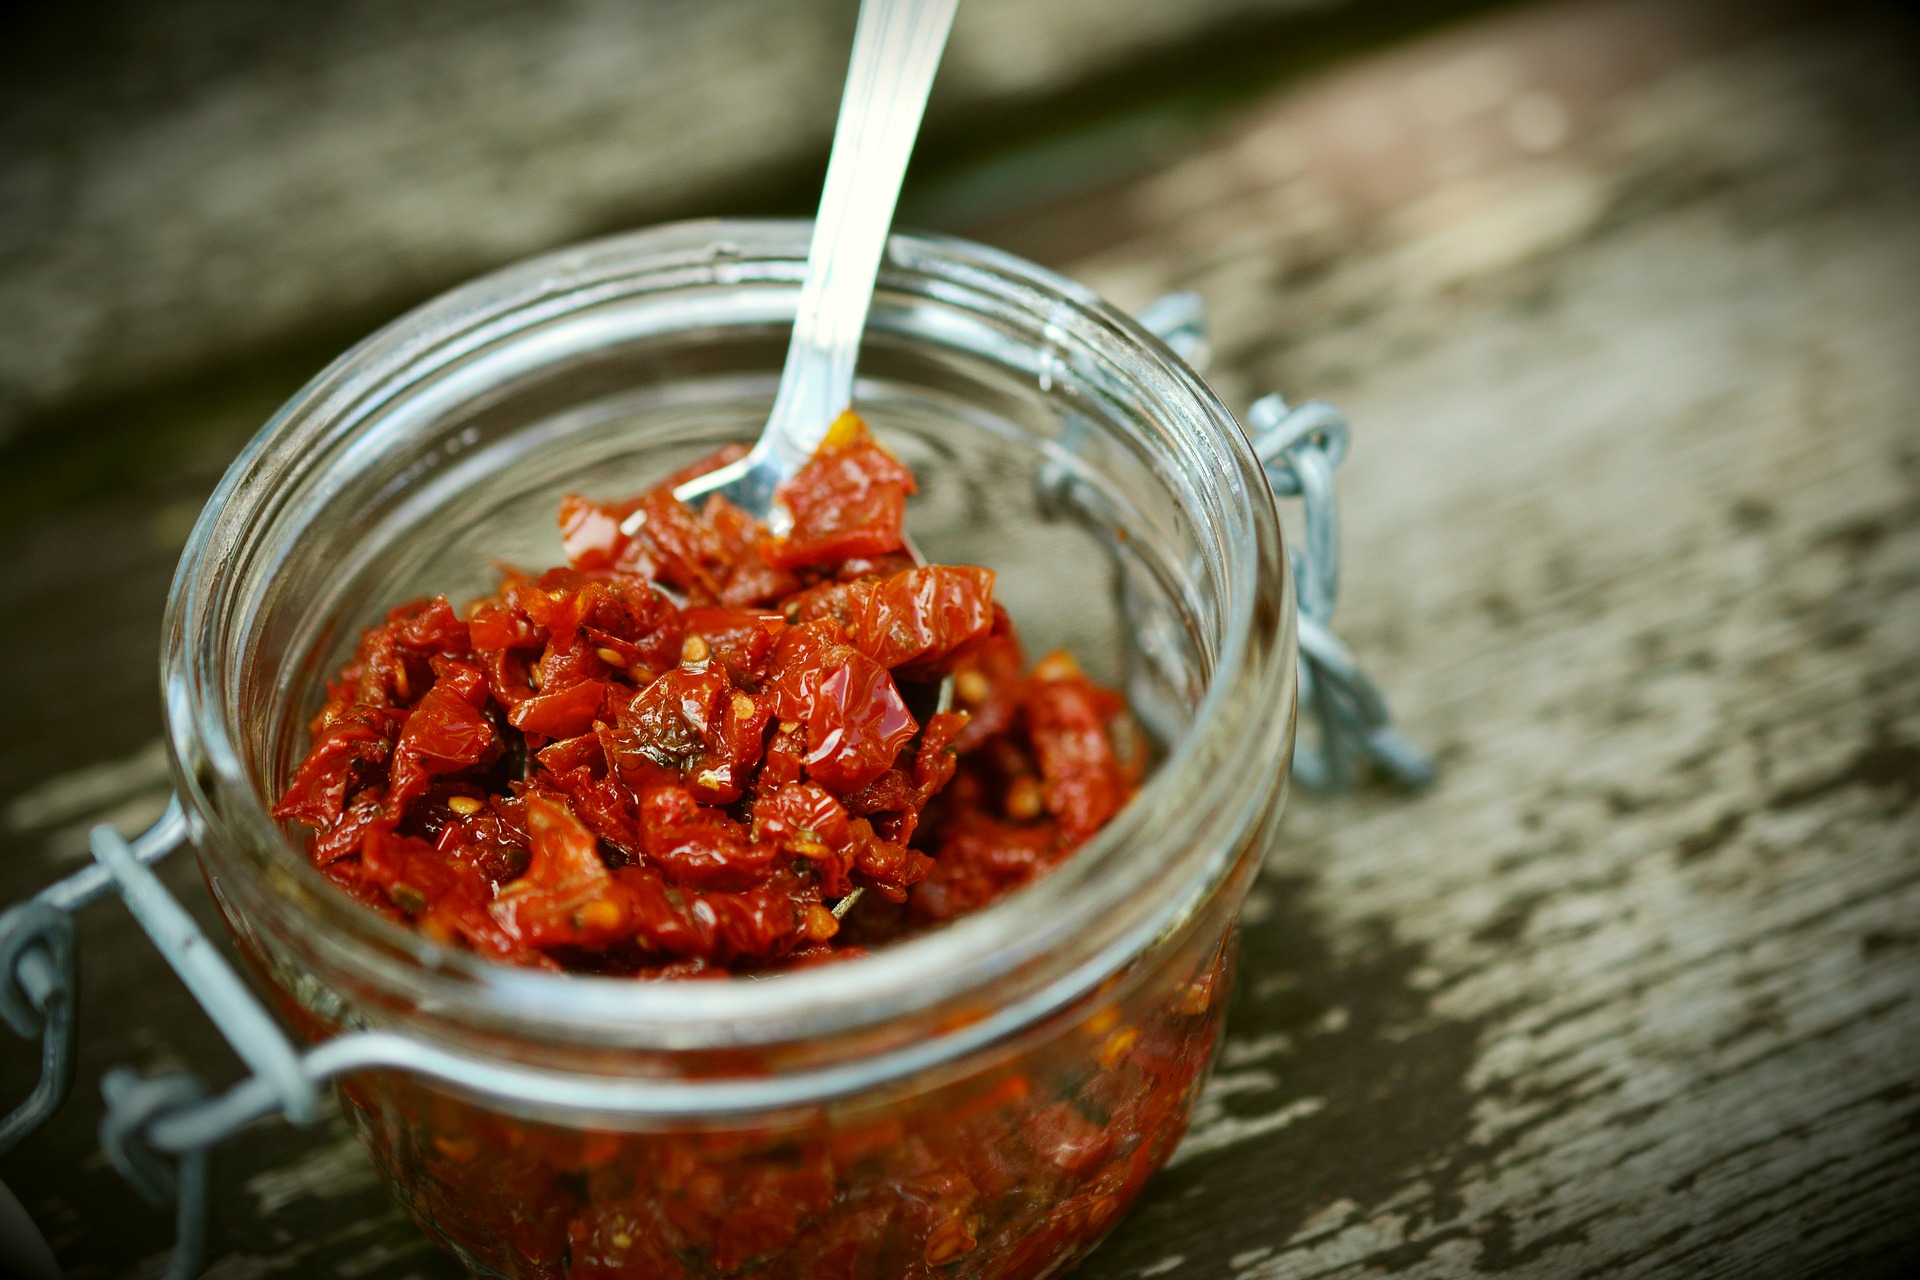
Before packaging any dried fruit, it’s important to check the dryness. Any remaining moisture can spoil the food. Therefore, the drier the food, the longer the shelf life.
If you have dried the food outside it is also important to eliminate the changes of (invisible) insect eggs or larvae on your food. The two methods here are heating or freezing. Heat the dried food in the oven at around 75°C for 30 minutes. Or deep freeze it for 48 hours.
To ensure that all foods of one batch are equally dry, it’s good practice to shake your storage container once a day for about a week. This shaking ensures that any potential moisture is evenly distributed in your jar. If you notice any condensation in the jar, you will need to return the food to the dryer or store it in the fridge. During this week of shaking and checking you don’t need to remove the lid.
If all goes well and you’re happy with your dried foods, transfer the batch to an airtight container and store at room temperature until use.
Drying herbs
The most popular dried food is probably dried herbs. Who doesn’t have a jar of some herb sitting by the stove to be used in cooking?
Drying herbs is an awesome way of preserving fresh herbs without losing any of their tastes. In fact, most herbs become stronger tasting when they are dried.
To dry herbs quick and easy in the oven, simply wash the herbs (depending on the herb you can use all of it or just the leaves), arrange on a tray with lots of extra space and leave in the oven at the lowest possible temperature. The drying time depends on your herb. It can be as low as 30 minutes.
If you air-dry your herbs, space them out evenly either on a tray or on a line, and let the air do its job. Remember to ensure good ventilation if you’re drying your herbs inside. If you’re drying them outside, remember to heat the dried herbs before storing (see above).
The herb is thoroughly dry when it pulverises in your hand.
Grind your herbs with a coffee grinder or with a mortar and pestle. In particular woody herbs like rosemary shine in this because it removes any spikes.
Once your herbs are ground to your desired consistency, move them to an airtight container.
Beyond the herbs
If you’re keen to take it one step further you can also venture into making your own vegetable stock, your own raisins, or your own beef jerky.
Drying is a fun way to preserve food. It takes little to no energy and can keep your food lasting months.
The only word of advise I have is that drying food well very much depends on your climate. If you live in a humid climate, take extra care. You’ll need to work with very small or thin pieces of food and allow extra time. There’s nothing worse than seeing your chillies turn brown on a beautifully hung line in your kitchen window.